Steps for Installing Microsoft AntiSpyware
Microsoft provides a free antispyware program that will check your system
for adware and spyware. The software can automatically remove any
adware/spyware it finds. The software was originally produced by Giant Company, but was acquired by
Microsoft. It works quite well for ferreting out and removing adware and
spyware from your system and it is free.
Steps to Install
- Download
the program. You can store it on your desktop or anywhere you normally
store downloads. You can delete the installation program when you have
installed it.
- Double-click on the file you downloaded to start the installation
process.
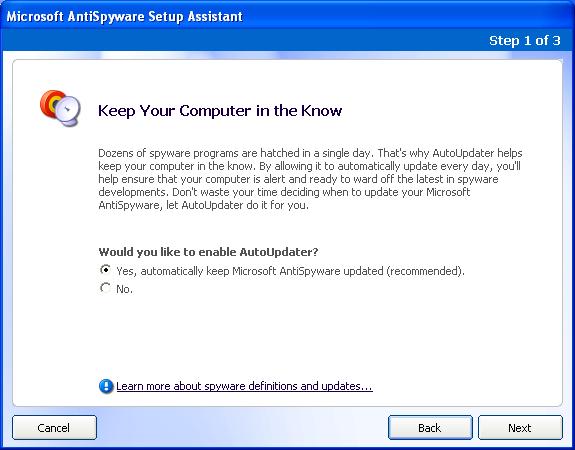
- You will see a "Keep Your Computer in the Know" window when the
Microsoft AntiSpyware Setup Assistant Starts. I recommend keeping the
default option of "Yes, automatically keep Microsoft AntiSpyware updated
(recommended)" checked. This will ensure that the software downloads the
latest definitions for adware/spyware on a regular basis. Just as new
viruses appear on a regular basis, so new adware and spyware is constantly
appearing. And some adware/spyware purveyors update their software to try
to make it harder to detect, so you must keep your antispyware software
up-to-date to keep your system well protected. Click on "Next" to proceed
to the next step.
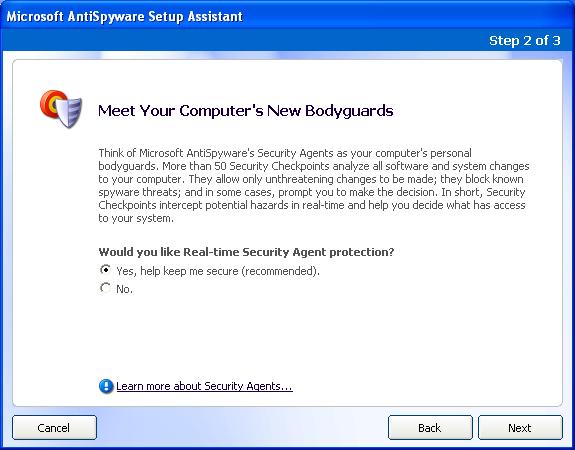
- At the "Meet Your Computer's New Bodyguards" step, keep the default
value of "Yes, help keep me secure (recommended)", so that Microsoft
AntiSpyware can protect you while you surf the web and download email, not
just when you run a scan of the system.
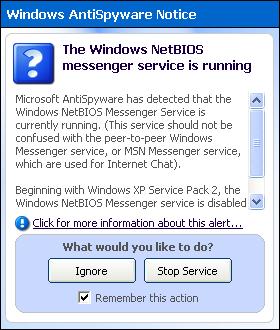
- When you click on "Next" at the step above, if you have Windows NetBIOS messenger
service running, you may see a "Windows AntiSpyware Notice" appear. If
the service isn't running, you won't see the notice shown below. If you
do see it, you have the option of ignoring the notice or stopping the
Windows NetBIOS messenger service. If you have Windows XP the service
will be turned on by default, unless you have upgraded to Service Pack 2,
which disables it by default. If you have several computers networked
together at your location, you might use this service to send messages to
someone on another computer, but for most people this is not needed. If
you use Microsoft's Instant Message (IM) software, MSN Messenger, this is
not the same thing, so you needn't worry about losing its functionality by
stopping the service. If you don't have a firewall protecting your
computer, stopping the service may free you from some types of popup
messages spammers can send to you over the Internet. But it is, of
course, up to you whether you want to ignore the notice and leave the
service running or stop it. If you don't know what it is, I would
recommend you stop it.
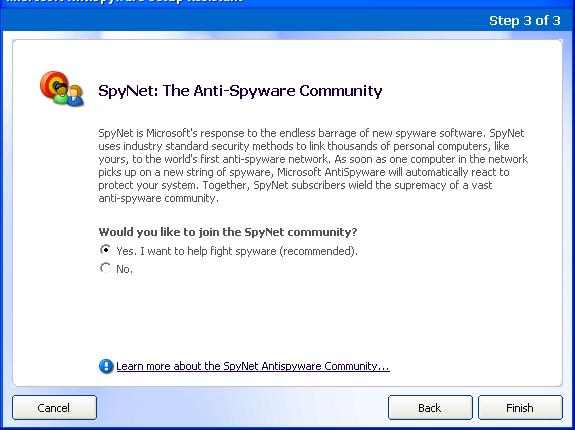
- When you see the "SpyNet: The Anti-Spyware Community" window, you can
choose to become a member of SpyNet. What this means is that as Microsoft
AntiSpyware gleans information about potential threats from scans of your
system, it can report information to the SpyNet servers, which can be used
to protect others. I would recommend accepting the default option of "Yes,
I want to help fight spyware (recommended)." As you benefit from the
contributions of others, you can in turn benefit others. Click on the
"Finish" button to proceed.
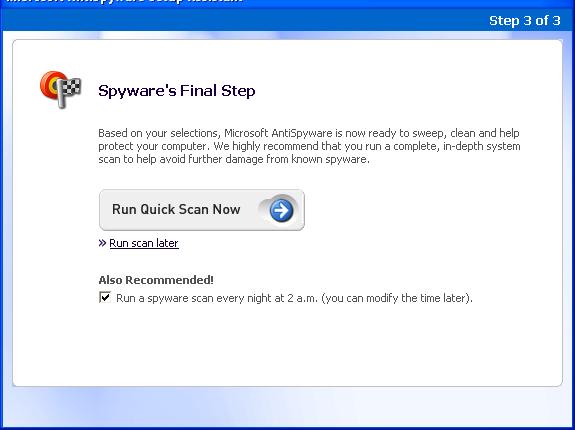
- At the final step of the installation, you will be asked whether you
wish to run a quick scan. You can choose to do so or can run one later.
You also have the option of letting Microsoft AntiSpyware scan your system
automatically every day. By default, it will run a scan at 2 A.M. every
morning, if you leave your system turned on. I recommend leaving that
option checked. You can click on "Run Quick Scan Now" to start scanning
your system or you can click on "Run scan later" to postpone a scan until
later.
-
If you see a message indicating your spyware signatures may be out of date,
click on "Update Now" to obtain the latest updates. When you see the message
"updates have completed", click on "Close".

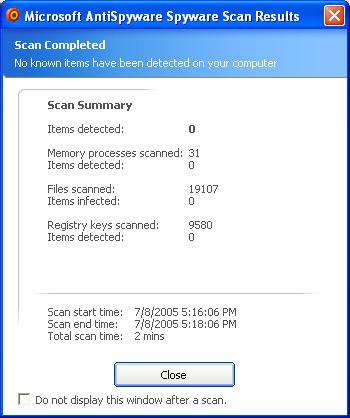
- If you run the scan, when it is completed you will see a "Scan
Results" window. Hopefully, all of the items detected and items infected
values will be 0.
