Adding a new DNS zone
To add a new DNS zone on a Microsoft Windows Server 2012 system which is
functioning as a DNS server, take the following steps:
-
Move the mouse pointer to the lower, left-hand corner of the screen. When
the Start button appears, click on it.
- Select Administrative Tools.
- Select DNS.
-
Right-click on the DNS server and choose New Zone.
- When the New Zone Wizard window
appears, click on Next.
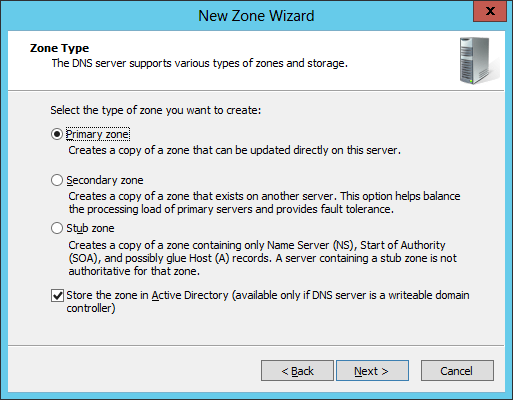
- Assuming you wish to create a primary zone, which is
the option selected by default, and wish to store the zone in Active Directory,
you can click on Next. If you wish to use a file-based zone
rather than an Active Directory-integrated zone, uncheck the option to
"Store the zone in Active Directory (available only if DNS server is a
writeable domain controller)" - see
Choosing a Zone Type for futher information.
-
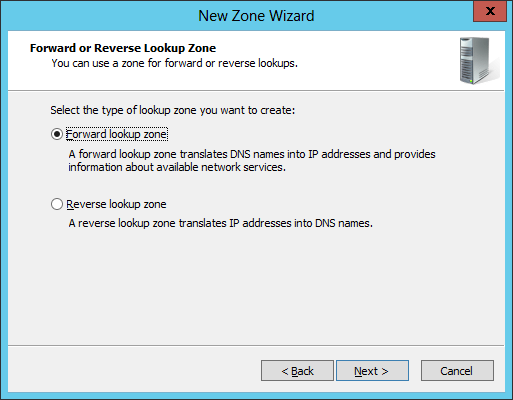
At the next window you will select whether you wish to create a forward or
reverse lookup zone. The default is a forward lookup zone.
-
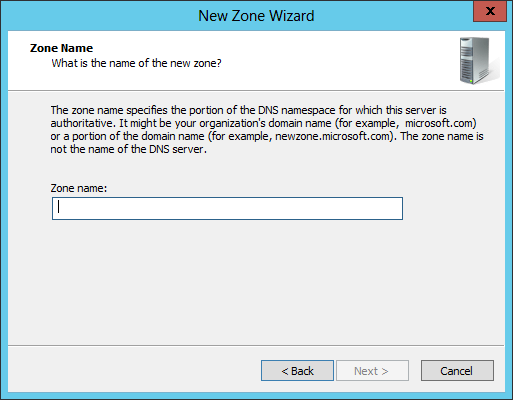
At the next window you can specify the name for the zone, e.g.,
example.com.
- If you selected a file-based DNS zone, you will be
asked if you want to create a new zone file or use an existing file that you
have copied from another DNS server.
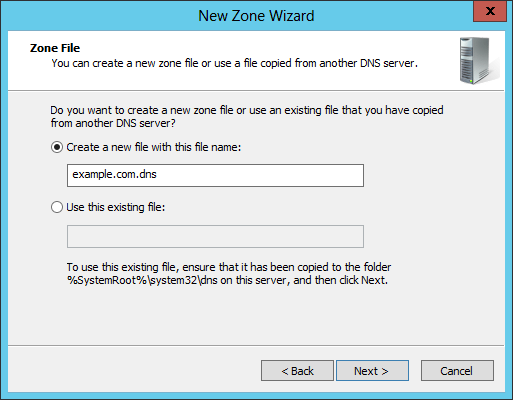
By default, the name will be the domain name you provided with .dns appended.
-
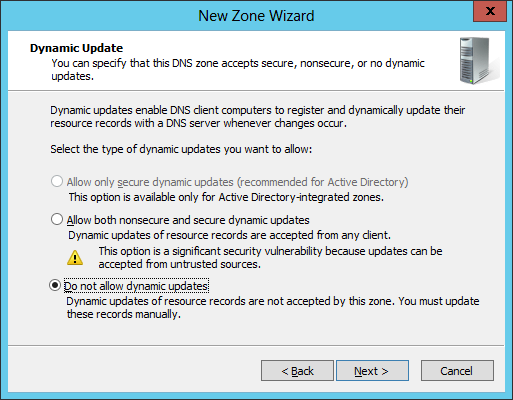
The next window asks about dynamic updates. Dynamic updates enable DNS
client computers to register and dynamically update their resource records
with a DNS server whenever changes occur.
-
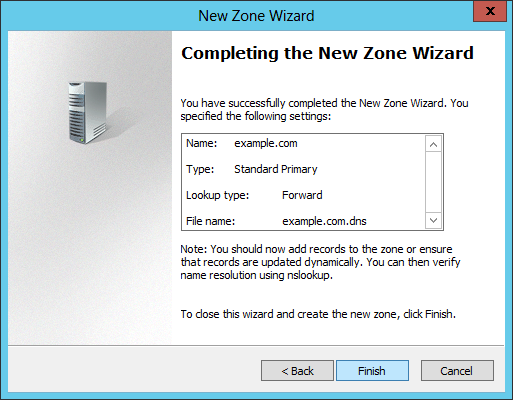
The next window is the "Completing the New Zone Wizard" window where you
can click on Finish to complete the setup for the zone.

Created: Thursday February 26, 2015

