

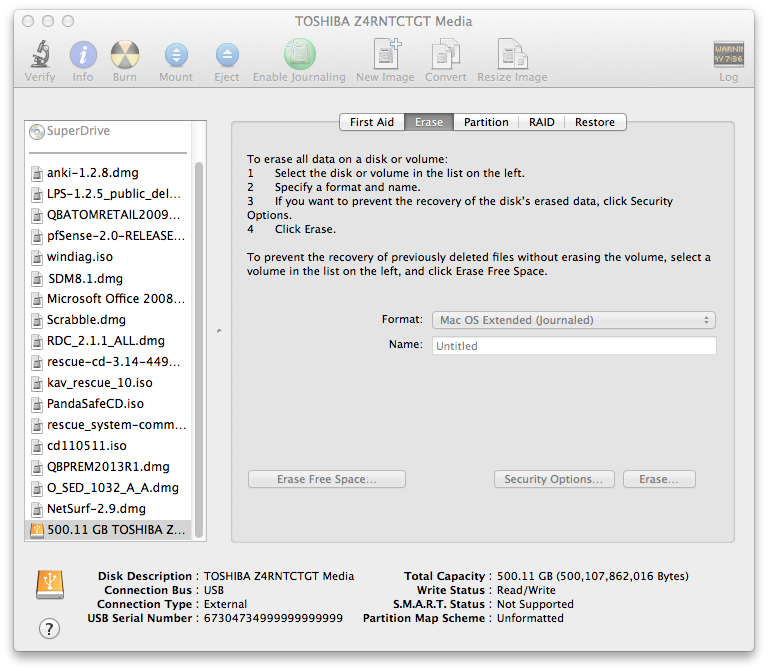
Type a name for the drive in the Name field and, if you want to use the default format of "Mac OS Extended (Journaled)", click on the Erase button.
If you wish to format the drive for another file system, you can select from the following file systems:
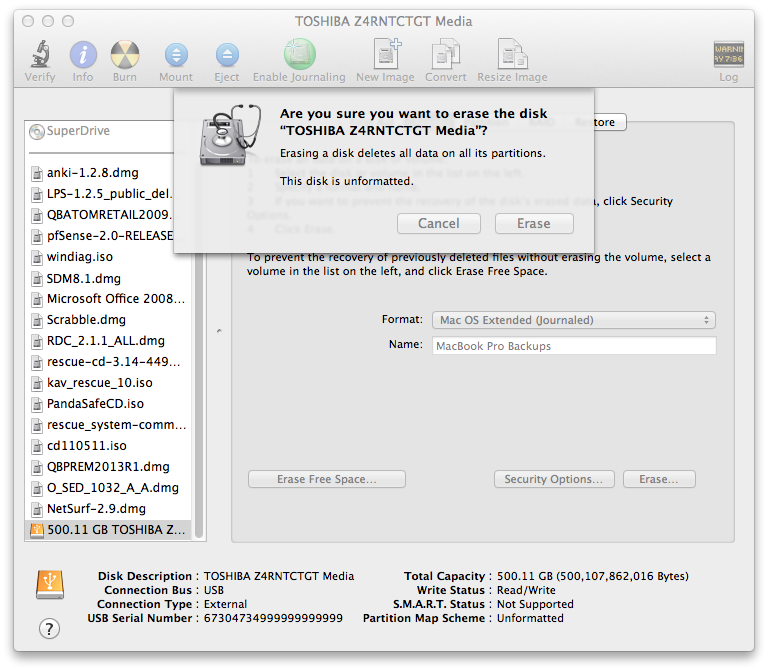
When you click on the Erase button, a warning window will appear asking if you are sure. Be certain that you aren't erasing a drive that has information you need to retain. If the disk is not formatted already, you will see "This disk is unformatted."
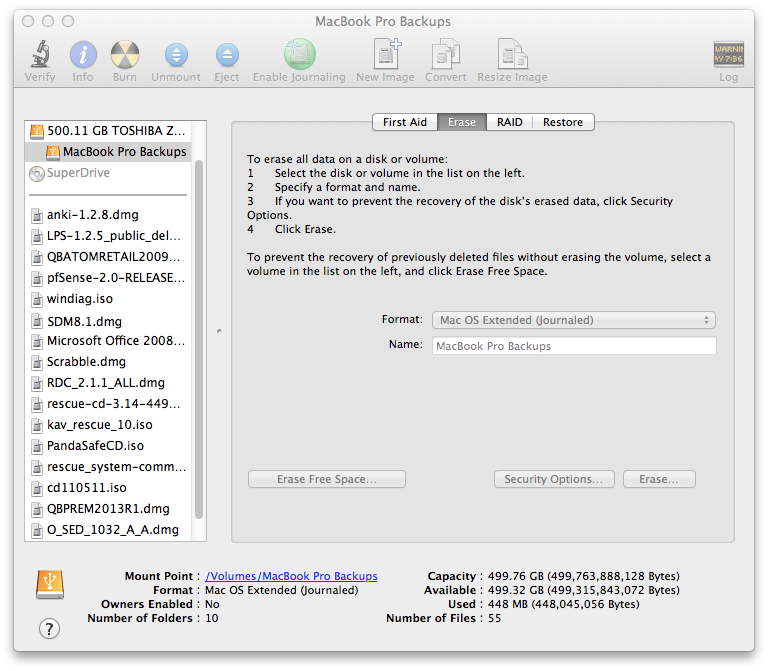
When the formatting process is completed, you will see the drive in the upper, left-hand corner of the left pane. You can click on the name you gave to the drive, e.g., "MacBook Pro Backups" in the screen shot below and you will see the capacity of the drive and how much space is available near the bottom, right-hand corner of the window. You can now use the drive to store files or hold Time Machine backups and can close the Disk Utility window.
![]()
Created: Tuesday July 7, 2015