
After installing Solaris 10 onto a home system, I clicked on the
Launch button and looked for a tool to set up a user
account. I was surprised that I could not find one. Sure, I could
run useradd from the command line, but I expected
to find some graphical tool readily available as a menu option from the
root account as well. I had put Solaris 10 on an office system
previously, but couldn't remember if I had used useradd
to do so. I couldn't find admintool on the Solaris 10
system
There is a GUI tool,
available under Solaris 10,
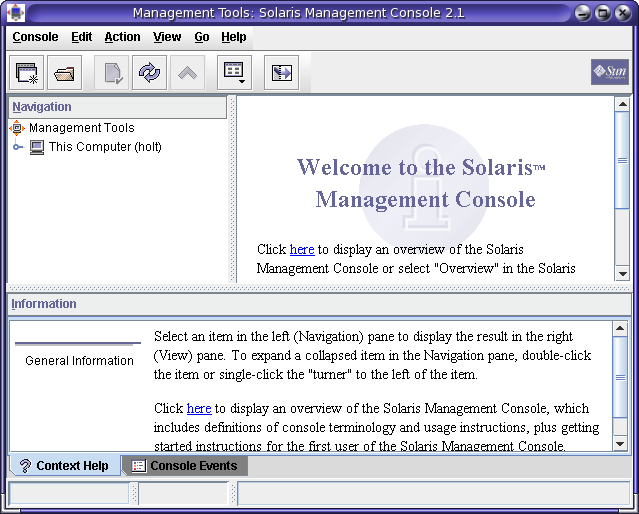
the Solaris Management Console (SMC), but it wasn't a menu option
accessible from the Launch button. You can start it from
a command prompt by typing smc, however.
To add a user, expand the list of options under "This Computer" by clicking on the small circle to the left of "This Computer". Then expand "System Configuration", and click on "Users".
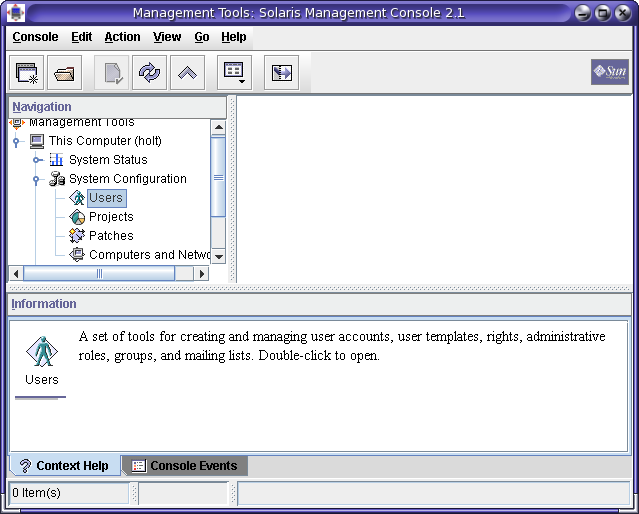
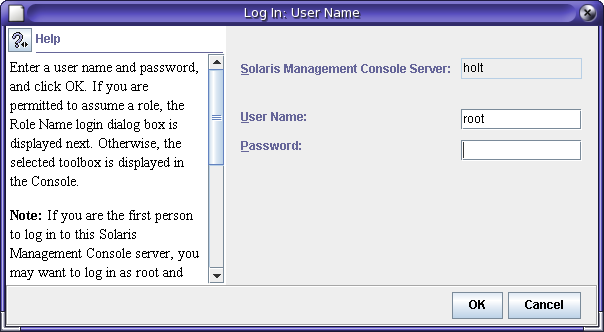
When you click on "Users", you are prompted for login information.
You will see a "User Accounts" icon in the right pane of the SMC window.
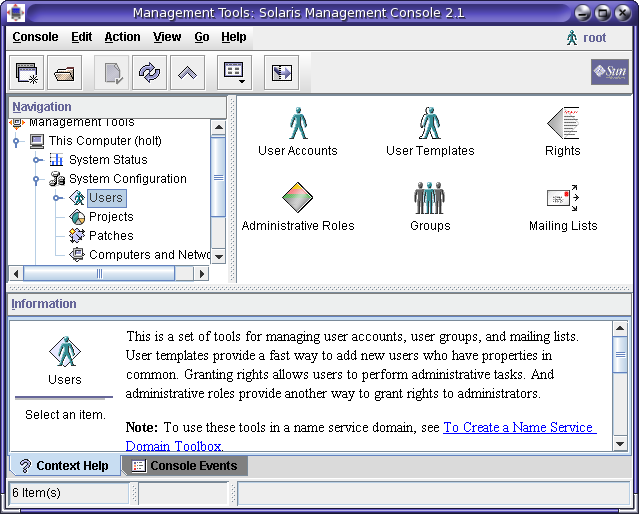
If you then expand "Users" in the left pane of the SMC window, you will see "User Accounts" under it as well. If you click on it, you can then select "Add User" from beneath "Action" on the menu at the top of the SMC window. You will be prompted as to whether you wish to add the user using the wizard or from a template.
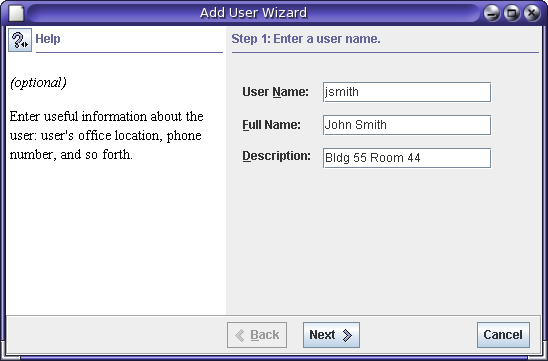
Choosing the wizard option, brings up a window where you are prompted for the username for the account, e.g. jsmith, the full name, and an description for the account, if you wish to provide one. Information on what goes into each field is provided in a help pane at the left side of the window.
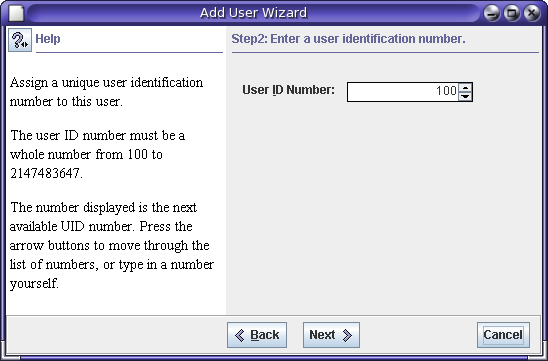
When you click on "next", you will be prompted for a user id number, which is a unique number Unix and Unix-like systems, e.g. Linux as well, assign to each account. For the first user account, Solaris will suggest a default user id of 100. For subsequent accounts, it will suggest the next available number.
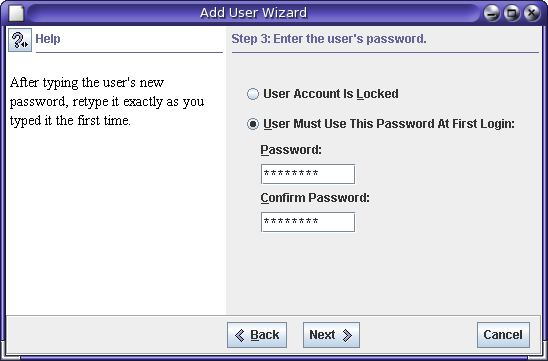
The next screen allows you to set a password for the user's account. The help pane on the left will provide suggestions for creating a strong password. You should never use a dictionary word, sports team, person's name, or car name for a password. Attackers using dictionaries, including name dictionaries or ones containing sports teams, car names, etc. can compromise accounts that use such passwords.
You are then prompted for the user's primary group. This will be "staff" by default.

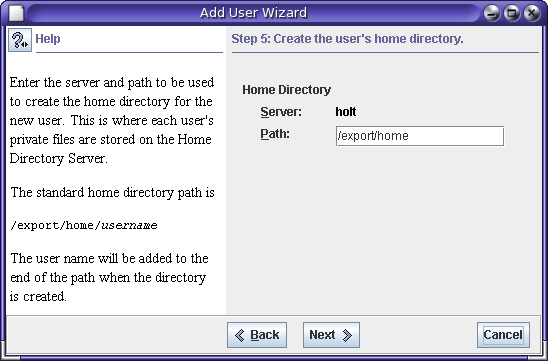
At the next screen you are prompted for the location of the user's home directory, i.e. the directory the user is placed in when he or she logs into the system. This will be under /export/home by default. Unless you want to change the default location, just click on "next". SMC will add the username for the account to /export/home automatically, so you don't need to put it in the field, e.g. /export/home/jsmith.
The next screen doesn't prompt you for information, but instead shows you the name of the mail server and the location of the user's mailbox. The mail server will normally be the system on which you are adding the account and the mailbox will be under /var/mail, e.g. /var/mail/jsmith.
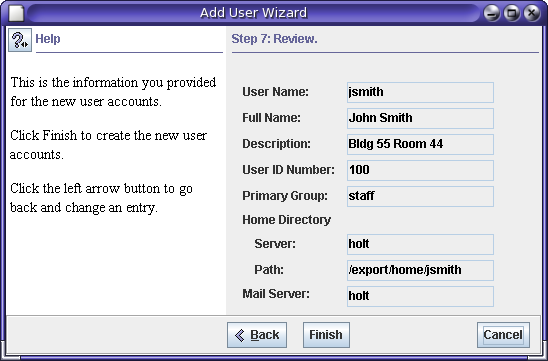
The final screen allows you to review all of the choices you have made. If you want to make a change, just hit the "back" button to back up to the point where you made the choice you want to change. If you are satisfied with the choices you made, simply click on "finish" to create the account.
The process assigns the Bourne shell as the default shell. If you want to change the shell for the account to another shell, e.g. the BASH shell, you can change the shell for the account in SMC after you have created it by right-clicking on the account and selecting "Properties". You can then choose from several shells by a pull-down menu.