Converting a transparent PNG file to GIF in Corel PSP X4

Have a dream? Start learning your way toward it with courses from $12.99. Shop now for extra savings1px
I wanted to convert a transparent PNG file to a transparent GIF file for placement on web pages in an area on the pages that had a black background. I could have modified the code for the pages to use the PNG file that had been provided to me, but I thought I could easily convert the PNG image I had been provided, which was an image of stylized white text on a black background, to a GIF image and just replace the old GIF image on the site with the one I had recently been given. Since I use Corel PaintShop Pro X4 for image editing, I thought I could just use its "save as" feature to resave the file in the GIF format. But when I saved the transparent PNG file as a GIF file expecting transparency to be maintained by clicking on File, selecting Save As and then choosing GIF as the new format for the file, I found that transparency was not maintained in the GIF file. I was able to produce the GIF file I needed by the following steps, however.
  1. Click on File.
  2. Click on Export.
  3. Select GIF Optimizer
  4. Click on the Use Wizard button.
  5. At the "Welcome to the Transparent GIF Wizard" window, you can pick the color in the image that should be the transparent color. In the image below, black was shown with "Existing" selected, so I just clicked on Next.

    Welcome to the
Transparent GIF Wizard

  6. At the next step, the Wizard asks you to select the background color of the web page on which the image will be placed. In this case, the Wizard was showing white as the color for the background whereas the background for the site's pages would be black, so I clicked in the box where white was displayed which allowed me to change the color for the background to black, which is an RGB value of 0,0,0 (the value for white is 255,255,255).

    Transparent GIF Wizard - Background
Color

  7. The next step is to choose the quality and size for the GIF file the Wizard will create. Choosing a value with a higher image quality results in a larger file size. I left the default value of maximizing image quality.

    Transparent GIF Wizard - Image
Quality

  8. Next choose whether you wish to use web-safe colors. The wizard provides the following information to guide you in your choice:

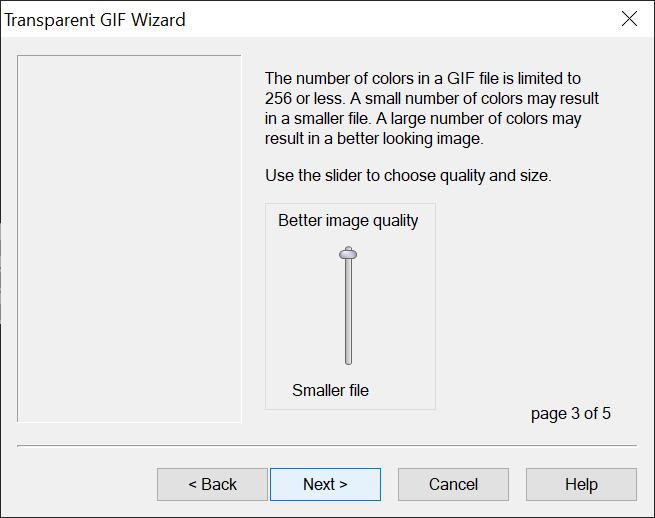
    There is a set of colors which is guaranteed to view properly with most web browsers, called the Web-safe palette.

    If you choose not to use this palette, the image may look better on your system, but worse when viewed by other people over the web.

    Transparent GIF Wizard - Web-safe
Colors

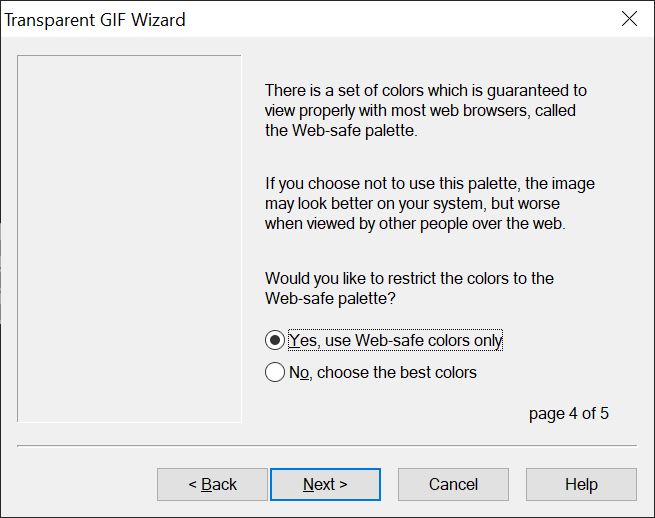
    Using the web-safe color range limits the color range in images and may not be as needed as was the case years ago, but in this case the image was only white text on a black background, so I just left the default value of "Yes, use Web-safe colors only" selected. If you need the color to match some exact shade of color between white and black, however, that may not be the best option for you.

  9. At the last step, the image is displayed with a checkerboard pattern representing the transparent areas. You can click on Finish if you are happy with the result.

    Transparent GIF Wizard - Finish