
The plugin can be downloaded from the
UltraVNC page. There is a addons win32 119X version for
systems running a
32-bit version of Microsoft Windows and a
addons x64 119X version for systems running a
64-bit
version of the Windows operating system. You can determine if the
operating system (OS) version is 32-bit or 64-bit using the instructions
at Determining if your
version of Windows is a 32-bit or 64-bit version or at
Determining the version of
Microsoft Windows from the command line.
The addon program also contains the Mirror Video Driver:
The Mirror Video Driver is a driver that UltraVNC (for instance) can use to be quickly and efficiently notified with screen changes. Using it on an UltraVNC server results in a excellent accuracy. The video driver also makes a direct link between the video driver frammebuffer memory and UltraWinVNC server. Using the framebuffer directly eliminates the use of the CPU for intensive screen blitting, resulting in a big speed boost and very low CPU load.
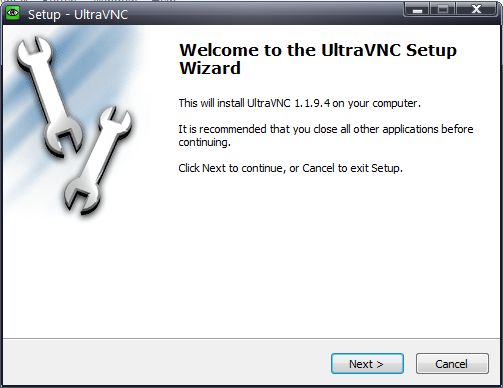
When you start the installation, a welcome screen appears.
When you click on the Next button, you will see the License Agreement window.
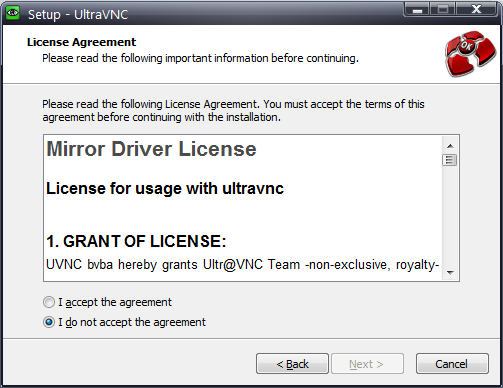
You will see the Mirror Driver license agreement at the top of the window; if you scroll down, you will see the one for the encryption plugins. The encryption support is licensed under the GNU General Public License, which is a free software license. It is licensed under either GPL version 2 or (at your option) any later version. When you accept the license, you will be given the opportunity to choose where the software is installed. The default location is the directory where UltraVNC is installed. After that screen, you can select the components to be installed. They include the following:
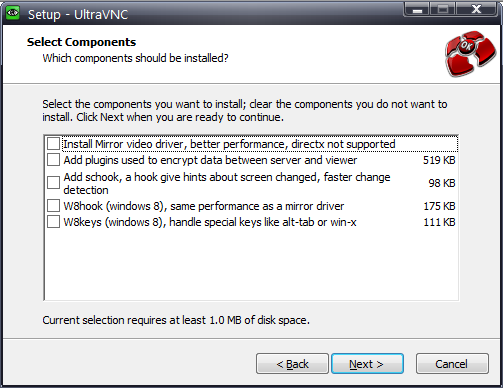
You need to check the check box for "Add plugins used to encrypt data between server and viewer". On a Windows 8 system, I also checked the check boxes for W8hook and W8keys.
The next screen shows you the options you selected.
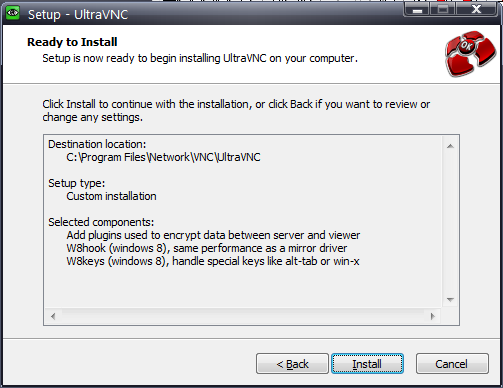
When you click on Install the software will be installed and you should see a window informing you that "Setup has finished installing UltraVNC on your computer"
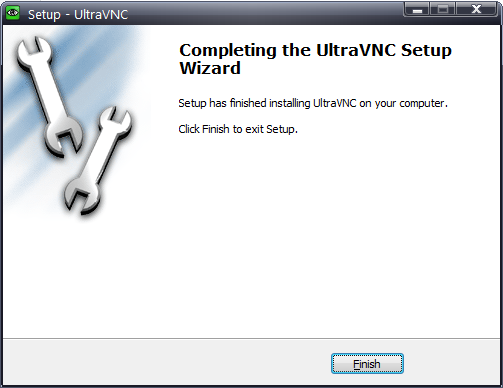
When you click on Finish the installation program will terminate.
For encrypted network communications between systems, you should install the
encryption addon on both the UltraVNC server and client systems. To enable
use of the encryption plugin on the server side, on the system where the
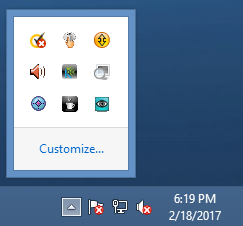
UltraVNC server software is installed, you can select the icon representing
the UltraVNC server software from the Windows
system tray at the bottom, right-hand corner of the screen (the icon
has a symbol for an eye on it), right-click on it and choose Admin
Properties. Note: you may need to click on an upward pointing arrowhead
(^) to see the icon.
Then check the check box next to DSM Plugin, click on the downward-pointing arrowhead to the right of the field next to it and select SecureVNCPlugin64.dsm.
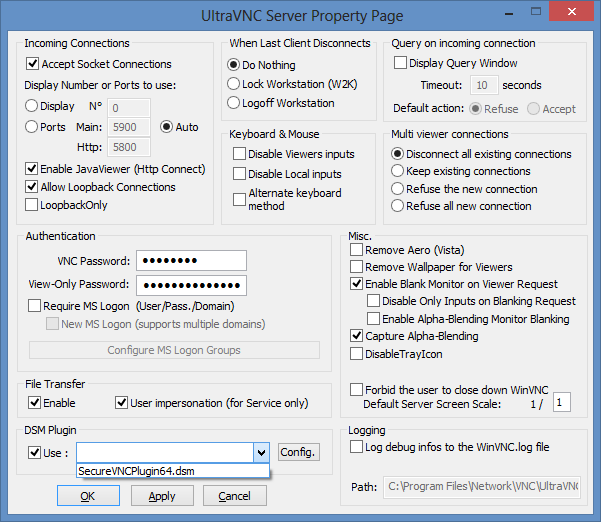
If you wish to change the encryption cipher that will be used, you can click on the Config. button after selecting the plugin. The default ciper is Advanced Encryption System (AES) (128- to 256-bit keys) with an enabled key length of 256 bits.
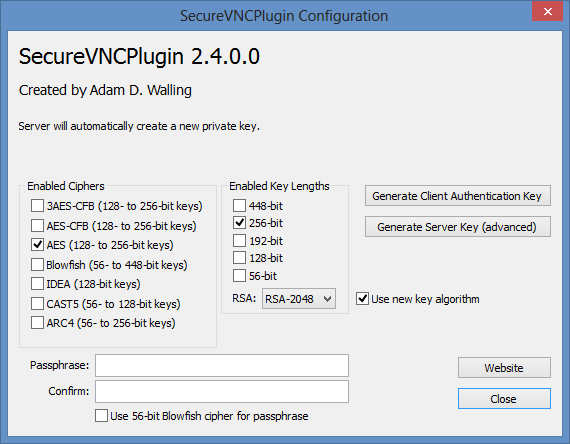
At this screen you need to type in a passphrase in the Passphrase field and then retype it into the Confirm field. Then click on Close and then Apply and then OK at the Admin Properties window. UltraVNC without the SecureVNC plugin only supports a password with a maximum of eight characters. You need to specify the passphrase to be able to use a longer password and also to enable you to use the plugin on the server and client side. If you don't configure the passphrase and use it when connecting via the UltraVNC client with the same plugin installed, you will see an "authentication rejected" window.
After you make any changes, click on the Apply button afterwards then click on OK.
When you click on Connect and are prompted for a password, use the passphrase you specified when configuring UltraVNC on the server side.
If you don't configure the passphrase and use it when connecting via the UltraVNC client with the same plugin installed, you will see an "authentication rejected" window.
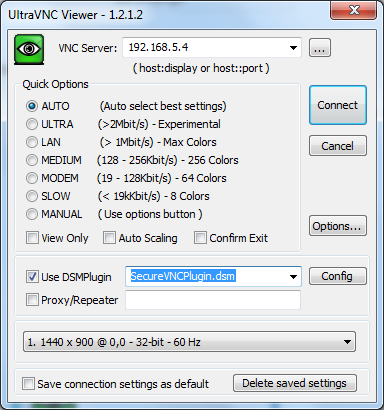
If you don't check the check box next to "Use DSMPlugin" and choose SecureVNCPlugin.dsm in the UltraVNC Viewer program on the client side, you will see "SecureVNCPlugin authentication failed (no plugin interface available)" when you try to connect to the server with the VNCViewer program.

Note: the screen shots and installation steps above are for the UltraVNC 1.1.9.4 Addons installation.

