
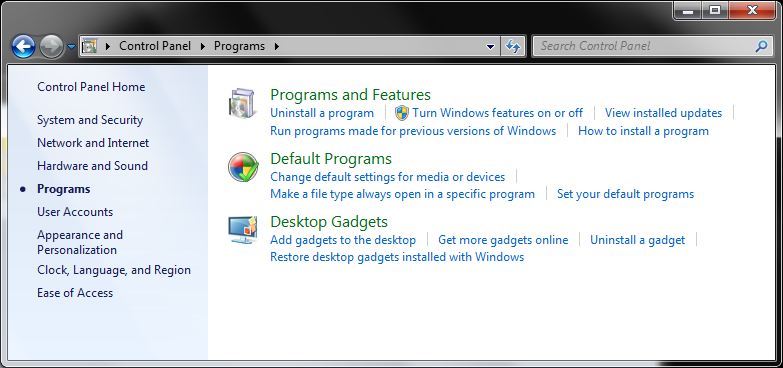
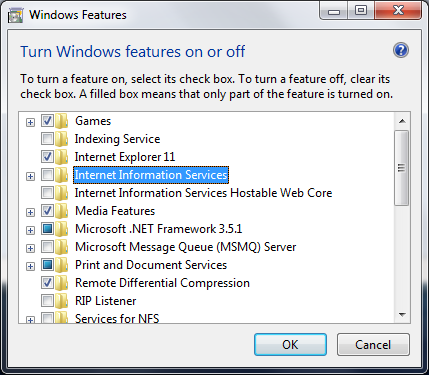
At this point, though you've completed the steps to be taken through
the Windows Features interface for the FTP Service, you
still won't be able to access the system via FTP to transfer files. If you
tried connecting to the system from itself using
localhost or
127.0.0.1 from a command prompt, you would see the following:
C:\Users\Administrator>ftp
ftp> open localhost
ftp> dir
Not connected.
ftp>
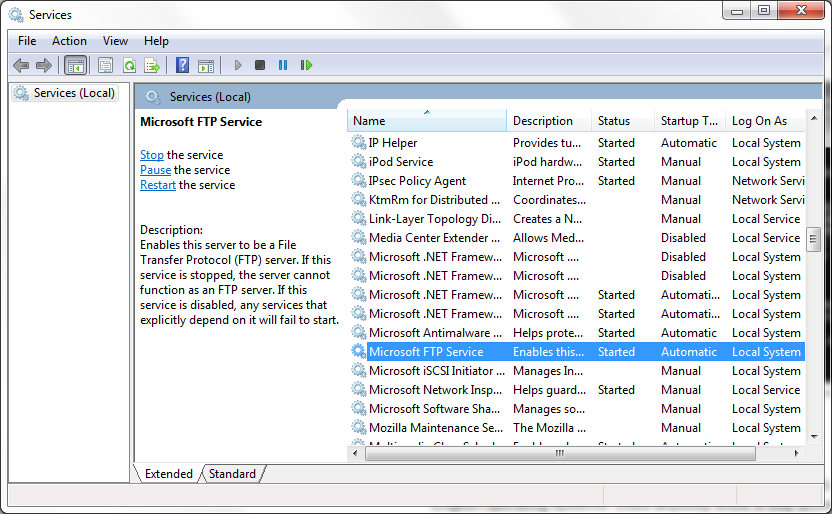
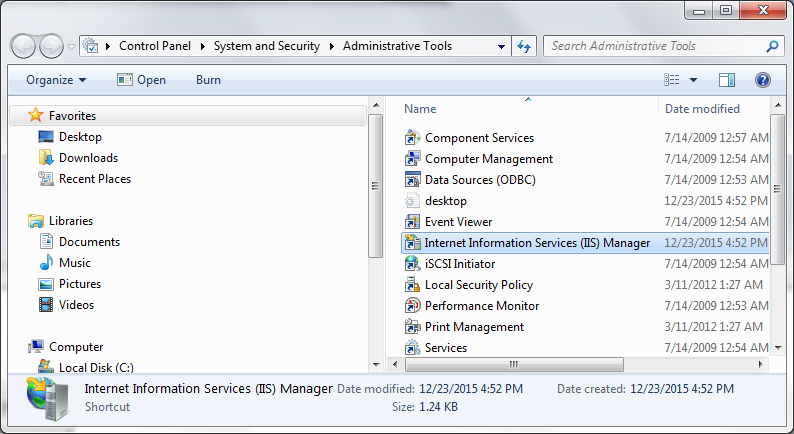
Though if you look at the services on the system by clicking
on the Windows Start button and typing services in the
"Search programs and files" field and hit Enter, you will
see Microsoft FTP Service with a status of "Started".
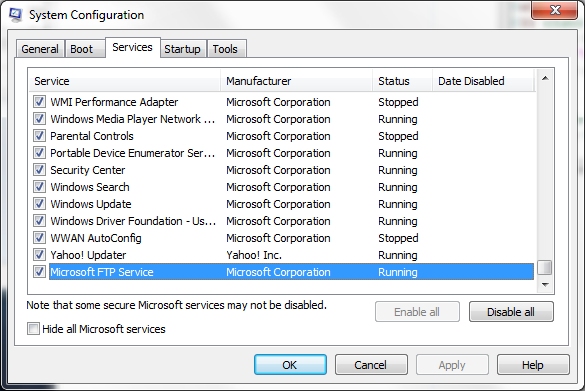
You will also see it listed with a status of "Running" if you check the system configuration by selecting System Configuration from Administrative Tools.
There will also be a C:\inetpub\ftproot directory, which
can serve as the root directory for the FTP server.
C:\Users\Administrator>dir c:\inetpub
Volume in drive C has no label.
Volume Serial Number is 9420-A68C
Directory of c:\inetpub
12/23/2015 03:52 PM <DIR> .
12/23/2015 03:52 PM <DIR> ..
12/23/2015 03:52 PM <DIR> ftproot
0 File(s) 0 bytes
3 Dir(s) 59,508,944,896 bytes free
C:\Users\Administrator>dir c:\inetpub\ftproot
Volume in drive C has no label.
Volume Serial Number is 9420-A68C
Directory of c:\inetpub\ftproot
12/23/2015 03:52 PM <DIR> .
12/23/2015 03:52 PM <DIR> ..
0 File(s) 0 bytes
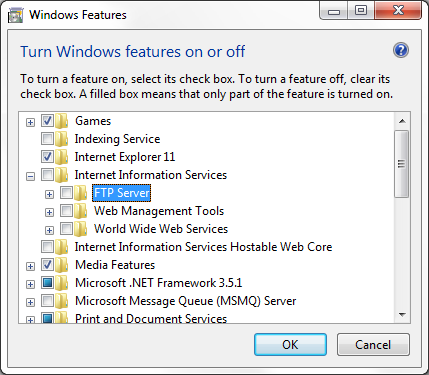
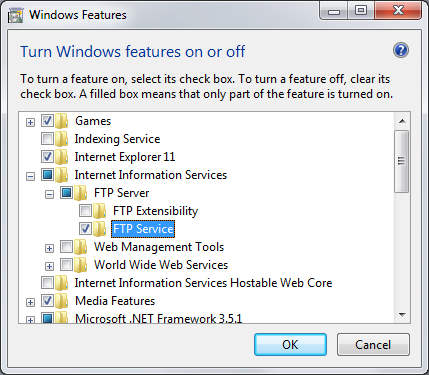
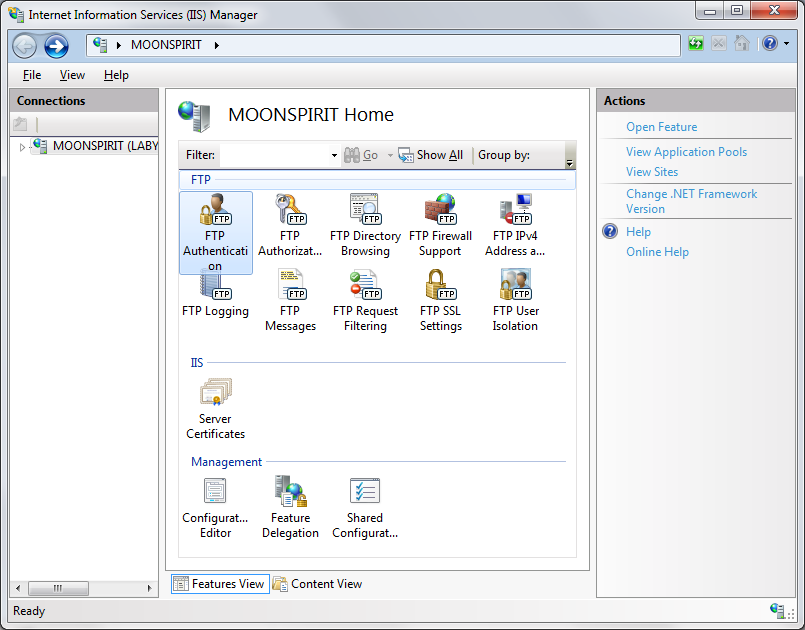
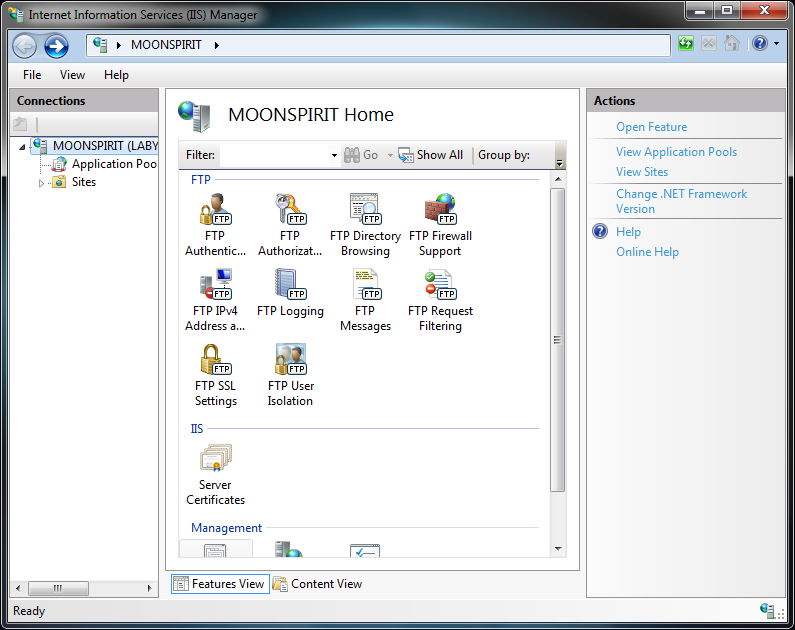
2 Dir(s) 59,508,944,896 bytes freeTo be able to configure the FTP service, so you can actually use it, you also need to add the IIS Management Console from the Windows Features window you used to add the FTP Server service to the system. So from the Windows Features window, click on the plus sign to the left of Web Management Tools, which appears below FTP Server within Internet Information Services.
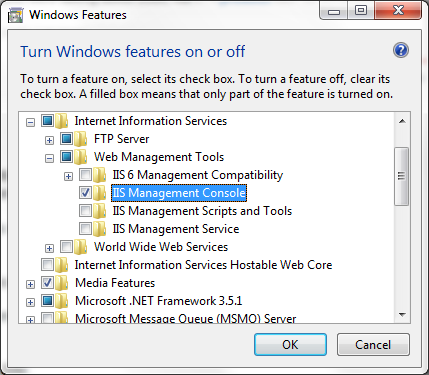
After you've selected IIS Management Console so that it has a check mark in the box next to it, click on OK.
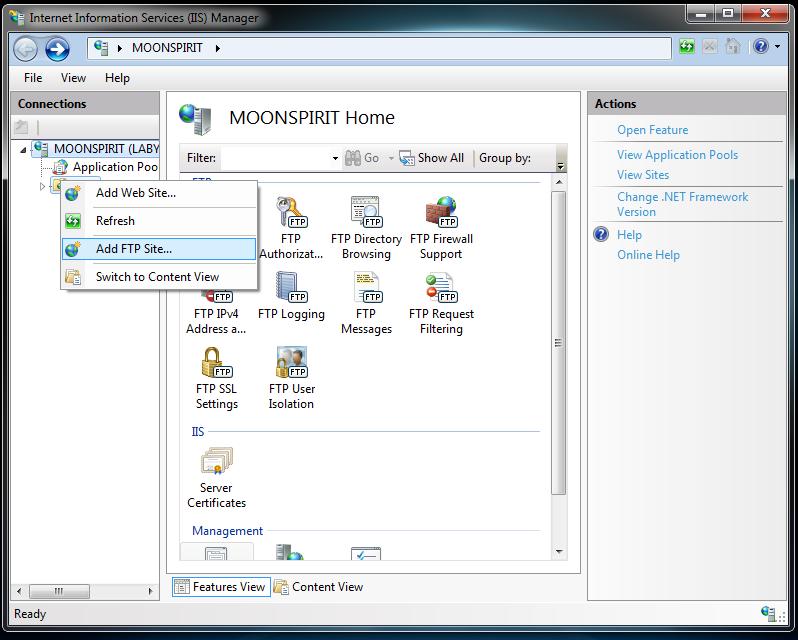
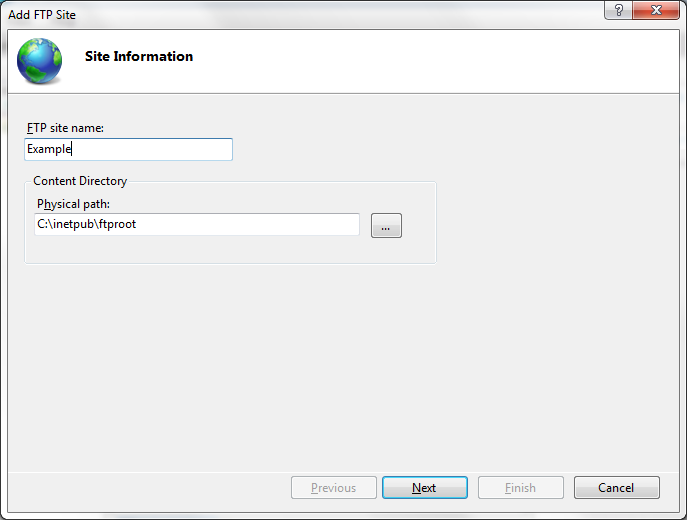
Now you can configure the FTP server service by taking the following steps:
C:\inetpub\ftproot,
if you want to use the directory created when the service was installed.

You can click on the button with the three dots on it next to the "Physical path" field to browse to a directory, if you prefer.
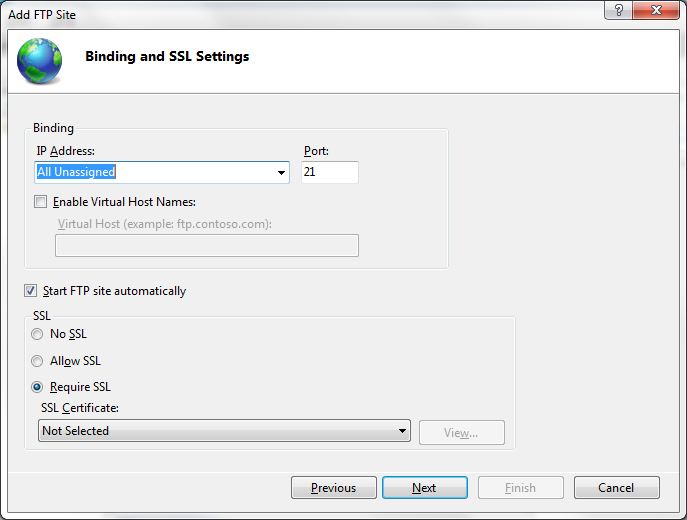
If you leave the setting at "Require SSL" rather than change it to "Allow SSL", when you connect from an FTP client, if the authorization credentials aren't encrypted via SSL, you will see the following when you connect to the server:
ftp> open localhost
Connected to ftp.example.com.
220 Microsoft FTP Service
User (ftp.example.com:(none)): anonymous
534-Policy requires SSL.
 Win32 error:   Access is denied.
 Error details: SSL policy requires SSL for control channel.
534 End
Login failed.
ftp>
The control channel is what FTP uses for sending the username and password.
You can change the setting later, if needed, by selecting "Allow SSL conections" from FTP SSL Settings within the Internet Information Services (IIS) Manager.
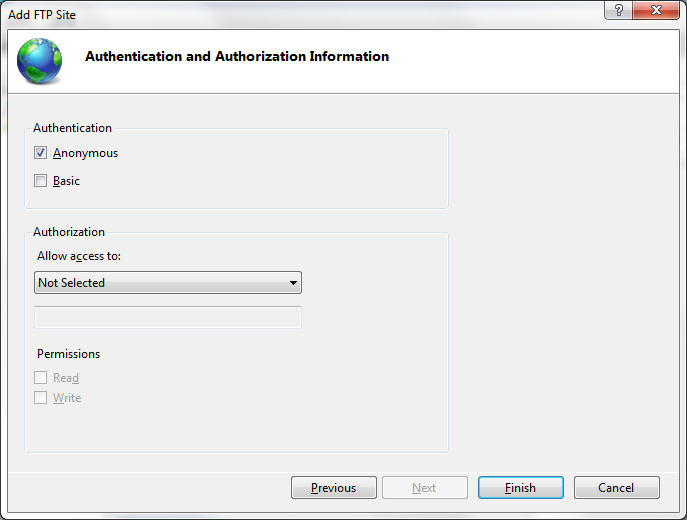
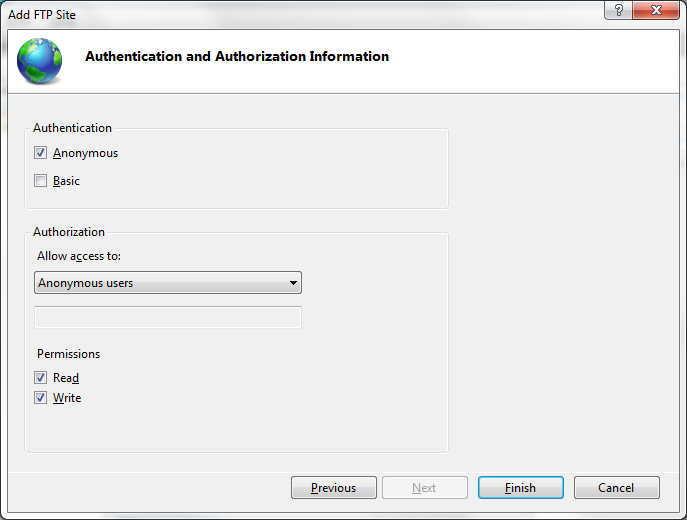
Anonymous authentication is a built-in authentication method that allows any
user to access any public content by providing an anonymous user name and
password. I.e., when prompted for a userid, the FTP client user can enter
anonymous and when prompted for a password the user can type
anything he chooses or just hit Enter. You would allow
Anonymous authentication when you want to allow all clients who visit your FTP
site to be able to view its content without knowing a user name and password
for an account on the system.
Basic authentication is a built-in authentication method that requires users to provide a valid Windows user name and password to gain access to content. The user account can be local to the FTP server or a domain account. Basic authentication may transmit unencrypted passwords across the network. You should use Basic authentication only when you know that the connection between the client and the server is secured using SSL.
Though, if the FTP server and the only systems having access to it are all on your Local Area Network (LAN), e.g., your home network, where you control all of the systems and network equipment, then you may not need to ensure that the authentication information is encrypted with SSL, but if you are allowing people to log into the system from the Internet with userids and passwords rather than via anonymous FTP access, it is best to ensure that usernames and passwords are encrypted so that no one along the network path between the client and server can use a packet sniffer to view the username and password used by FTP clients.
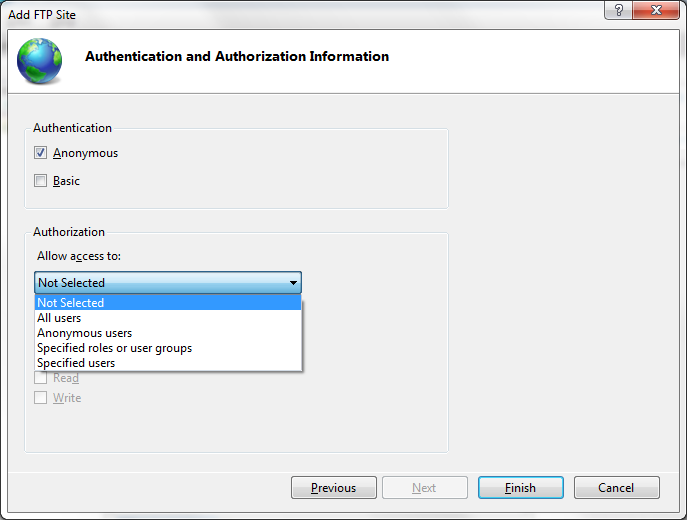
For "Allow access to", you can select from "All users", "Anonymous users", "Specified roles or user groups", or "Specified users".
Once you've made a choice for "Allow access to", you can then choose to grant read and/or write access.
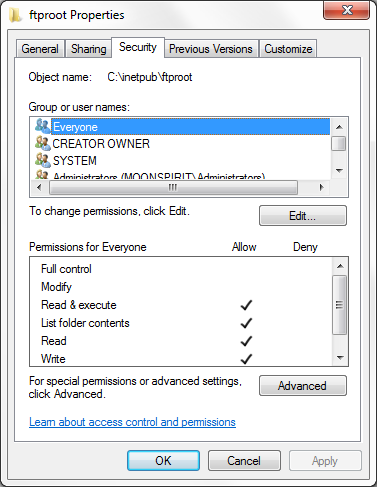
If you selected C:\inetput\ftproot for the root directory
for the site and try to transfer a file there from an FTP client, but
get the error message "File system denied the access", you will need to
change the security permissions for the directory if you wish to allow
anonymous users to transfer files to that directory.
C:\Users\Public\Documents>ftp
ftp> open localhost
Connected to ftp.example.com.
220 Microsoft FTP Service
User (ftp.example.com:(none)): anonymous
331 Anonymous access allowed, send identity (e-mail name) as password.
Password:
230 User logged in.
ftp> put somefile.txt
200 EPRT command successful.
550-Access is denied.
 Win32 error:   Access is denied.
 Error details: File system denied the access.
550 End
ftp>
You can change the permissions by right-clicking on the ftproot
directory from the
File Explorer,
selecting Properties and then clicking on the
Security tab. Then click on the Edit button then the
Add button. Put everyone in the Enter the object
names to select field then click on OK. Ensure Write
permission is checked and then click on OK and then OK
again to close the ftproot Properties window.
You then should be able to place files in the directory using an FTP client.
ftp> open localhost
Connected to ftp.example.com
220 Microsoft FTP Service
User (ftp.example.com:(none)): anonymous
331 Anonymous access allowed, send identity (e-mail name) as password.
Password:
230 User logged in.
ftp> put somefile.txt
200 EPRT command successful.
125 Data connection already open; Transfer starting.
226 Transfer complete.
ftp: 11 bytes sent in 0.00Seconds 11000.00Kbytes/sec.
ftp>
If you try to connect from another system and are unable to do so, e.g.,
you get a "connection timed out" message, you may need to configure the
firewall software on the FTP server system to allow the connectivity. If
you are using the built-in Microsoft Windows firewall software rather than
some third-party firewall software, such as might be included with an
antivirus package, you can use the command netsh advfirewall firewall
set rule group="FTP Server" new enable="yes" at a command prompt to
configure the Microsoft Windows firewall software.
C:\Users\Administrator>netsh advfirewall firewall set rule group="FTP Server" ne
w enable="yes"

Updated 5 rule(s).
Ok.


C:\Users\Administrator>
Note: these steps were taken on a Microsoft Windows 7 Ultimate sysetm.
![]()
Created: Wednesday December 23, 2015