
Some companies that provide commercial versions also provide free versions for personal use. I was setting up a Windows 8.1 Professional system for my wife and wanted to install SSH server software on it to give me remote troubleshooting capabilities. I had used the commerical version of Bitvise SSH Server software at a business location previously where it had worked well. Bitvise offers a commercial version of their SSH server software for $99.95 USD and a free version for personal use. The Bitvise personal version has the following restrictions:
Personal use is free and does not expire, but is limited only for non-commercial personal use, and is not permitted for businesses, governments, or any other organizations. The personal edition has the following limitations compared to the standard edition:
- Can use only local Windows accounts (no domains)
- Can configure only one Windows group (everyone)
- Can configure only one virtual group
- Limit of 10 Windows account entries
- Limit of 10 virtual account entries
- GSSAPI authentication is disabled (Kerberos and NTLM)
Their personal version doesn't allow domain accounts to be used for SSH logins, though, and the Microsoft Windows systems I have at home are part of a domain. I could have just stuck with a local administrator login to my wife's PC, but I was hoping to be able to use domain accounts, so I checked on other alternatives. I found that the personal version of the PowerShell SSH/SFTP server software did not impose that restriction, so I decided to use it, instead, though so far I have not been able to log into the system with a domain account, only local accounts on the system running the PowerShell Server software.
The Personal Edition can be downloaded from Download PowerShell Server . It provides a completely free non-expiring license with the limitation that it only allows one connection to the server at a time. A single server license that supports 5 concurrent connections is available currently for $99 USD. Versions supporting greater numbers of concurrent connections are also available.
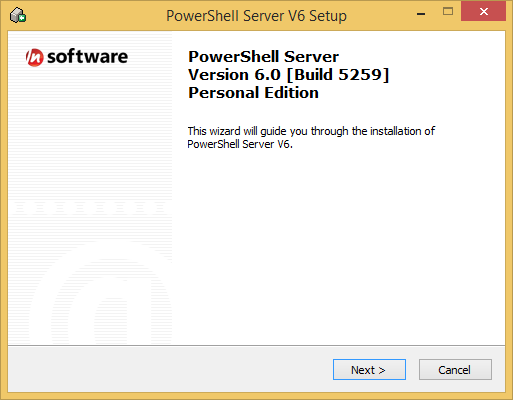
When you double-click on the setup.exe file for the software,
a setup wizard window will open to guide you through the installation process.

When you click on Next, you are asked to review the End User License Agreement (txt, RTF)
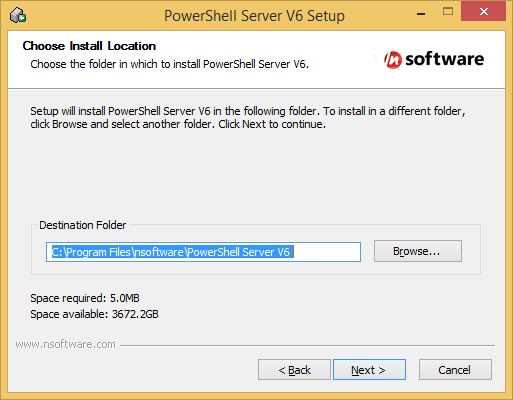
When you click on the I Agree button, you are prompted to select
the destination folder for the software, or you can accept the default
location of C:\Program Files\nsoftware\PowerShell Server V6.
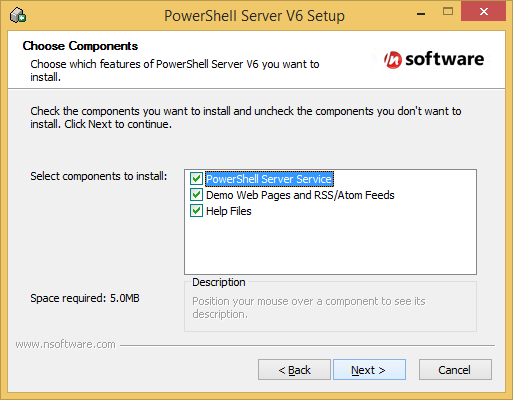
At the next step, you can choose not to install certain components, if you wish. About 5.0 MB of space is required for the full installation.
At the next step, you can choose the Start Menu Folder.
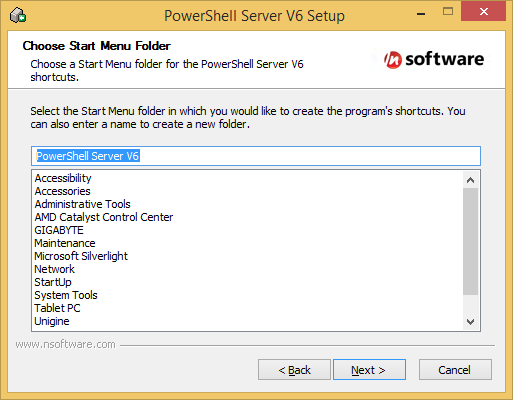
I prefer to keep network tools together in a "Network" folder, so I prefixed
the default choice with "Network\", i.e., Network\PowerShell Server
V6.
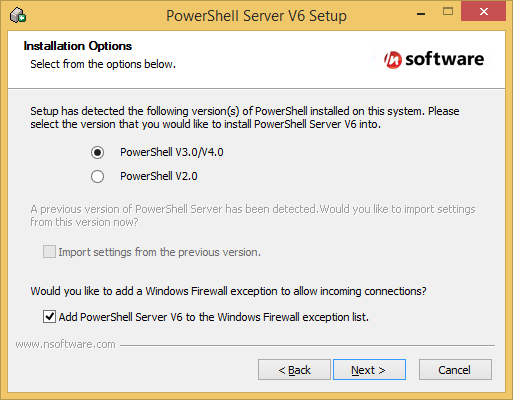
At the next step, you will be presented with installation options related to the version of Microsoft's Windows PowerShell installed on the system. The PowerShell Server V6 Setup wizard can "Add PowerShell Server V6 to the Windows Firewall exception list." In most cases, you will want to have the installation wizard do this for you, so you don't have to do it manually after the installation.
Once you click on the Next button at that window, you will be informed "You are now ready to install PowerShell Server V6." You can then click on the Install button to proceed with the installation. When the installation completes, you will see a "Installation completed successfully" window and the default web browser on the system will show the web page /n software PowerShell Server Readme, which notes:
Welcome to /n software PowerShell Server, a powerful SSH solution that enables administrators and other IT professionals to securely manage remote Windows machines through a lightweight PowerShell command-line interface. PowerShell Server enables secure remote access to PowerShell from remote machines through the standard SSH protocol, running as a standalone application on your Windows Desktop that sits quietly in your taskbar notification tray, or as a Windows Service that runs in the background.
The Readme file lists features provided by the SSH Terminal Server, Secure File Transfer (SFTP) Server, and Web Publishing (PowerShell ASP) that is installed as part of the package. Regarding the latter, the Readme notes:
PowerShell Server includes an ASP-like PowerShell based template language for building web applications and making PowerShell scripts web accessible. This template language, PowerShell ASP, contain a mixture of markup and inline PowerShell script. You can use PowerShell ASP inside your existing applications, or create complete applications from scratch based only on PowerShell web pages. PowerShell Server even comes complete with a lightweight Webserver allowing users to web-enable PowerShell scripts without the overhead and setup requirements of Microsoft IIS.
The Readme file also mentions that the SSH Terminal server part of the package provides An easy-to-use, lightweight and secure PowerShell Remoting alternative to Windows Remote Management (WinRM).
When you click on the Finish button at the "Installation completed successfully" window, if you leave the "Run PowerShell Server" checkbox checked, a PowerShell Server V6 window will open where you can configure the server.
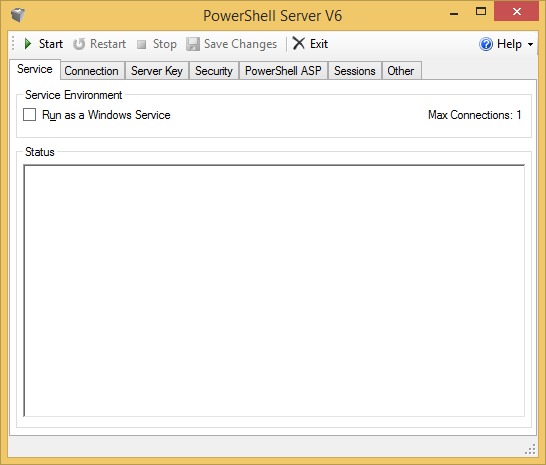
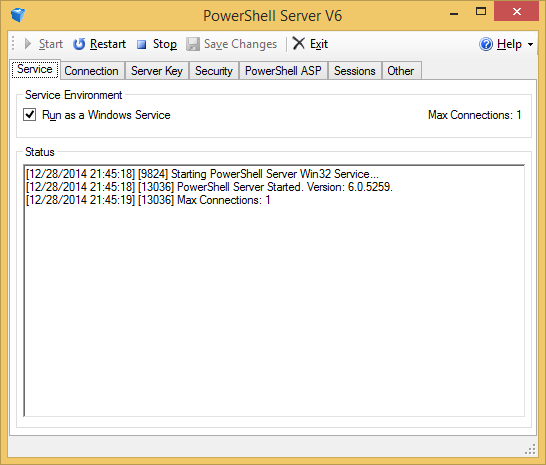
If you want the software to start automatically whenever the system boots into Windows, check the "Run as a Windows Service" checkbox under the Service tab.
At the connection window, you may want to check the checkboxes next to some or all of the server features which are as follows:
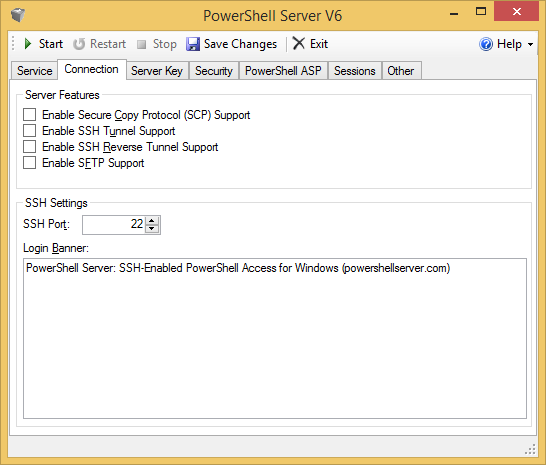
If you want to use the server software for transferring files, you should
at least enable SCP and
SFTP support. If you enable
SFTP support, the default root directory for SFTP connections will be
a sftproot directory beneath the installation directory for
PowerShell Server, but you can click on the Browse button from
the Other tab to select another directory, if you wish. You can
also determine that location from a command prompt using the reg query
query command or set it with the reg add command -
see Setting the SFTPRootDir.
To be able to tunnel other types of connections through the SSH connection, you will need to check the relevant options for tunneling.
You can also change the port the system listens on for SSH connections from the standard TCP port 22 to another port under this tab. And you can also change the login banner here.
From the Security tab, you can choose which accounts are allowed to log into the system by SSH.

By default, only local accounts in the local administrators group can log into the system. If you wish to allow local regular user accounts access to the system via SSH, click on the Select button to the right of "Security Group".
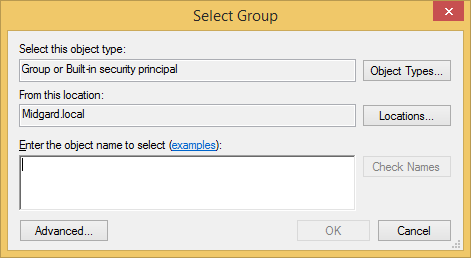
In the "Enter the object name to select" field, type Users
then click on Check Names then OK. If you have already
started the SSH server service, click on Save Changes then click
on Restart.
You can find information on the authentication settings at Authentication.
When I checked the checkbox next to "Enable GSSAPI Authentication", I found it took much longer to get the password prompt when attempting to log into the system. During further checking, I found the following at the vendor's Security page:
Enable GSSAPI Authentication: This allows GSSAPI authentication for connecting clients. This is enabled by default in licensed versions. This feature is not available in the free version.
So I unchecked that option. The above web page also states in regards to the Logon Type:
Logon Type: Controls the type of logon performed by the application when attempting to authenticate users. Possible values are:
- Network Logon: Regular network logon is performed. This is more secure, but access to remote network resources is prohibited.
- Interactive Logon: Interactive logon is performed. This is less secure, but allows access to remote network resources.
The default value is Network Logon.
From the Security tab, you can choose to enable public key authentication, which allows someone to log in without a password provided they have a private key on the remote system that corresponds to a public key on the server.
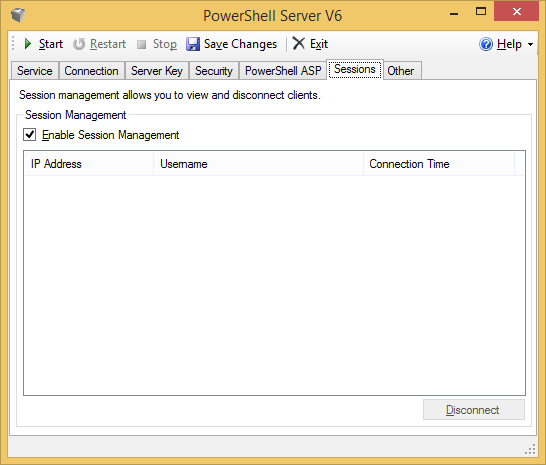
Under the Sessions tab, you can see any current SSH connections and also disconnect any connections, if you wish.
From the Other tab, you can enable logging and choose how frequently to rotate the log file, if you choose to log connections, and whether you wish old log files to be deleted after a certain number of days.
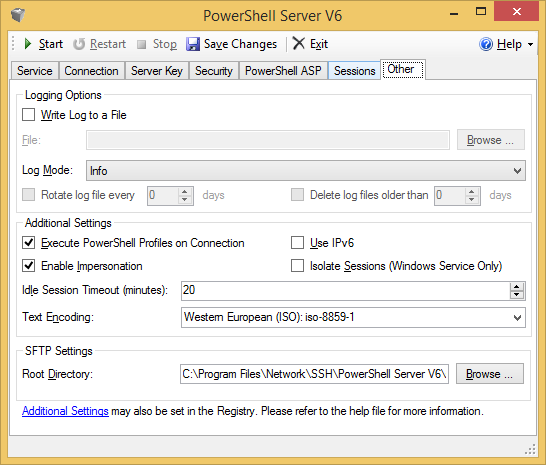
For Log Mode, you can choose from the following:
You can choose where to store the log file, which will be stored as a text file.
From the Other tab, you can also choose which directory will be used for the root directory for SFTP connections.
At this tab, you are also informed "Additional Settings may also be set in
the Registry. Please refer to the help file for more information."
The choices that you make in the
GUI when configuring PowerShell Server V6 are stored in the
Windows Registry in
HKEY_LOCAL_MACHINE\SOFTWARE\nsoftware\PowerShellServer. See
Registry
Keys for a listing.
When you are finished with the configuration changes, click on Save Changes at the top of the window and then click on Start. You should then see "PowerShell Server Started" displayed beneath "Status" under the Service tab.
You can then click on Exit. If you then open a command prompt, you should see that the system is listening on port 22, if you didn't change the default listening port.
C:\>netstat -an | find "22" | find "LISTENING"
  TCP    0.0.0.0:22             0.0.0.0:0              LISTENING
  TCP    0.0.0.0:8122           0.0.0.0:0              LISTENING
When you log into the system, you should see a prompt similar to the following:
$ ssh jdoe@192.168.1.6
user@192.168.1.6's password:
PowerShell Server: SSH-Enabled PowerShell Access for Windows (powershellserver.c
om)

PS C:\Users\JDoe\Documents>
![]()
Created: Sunday December 28, 2014