
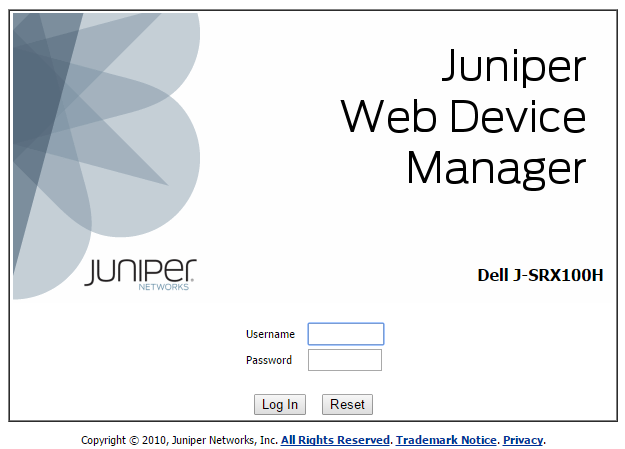
Use root for the username and leave the password field
blank and click on Log In.
You will then see a Configure window where you can specify the default gateway on the Internet-facing side of the router. You can specify an IP address for the device in the "fe-0/0/0.0 Address" field. If you wish to set an IP address manually, uncheck the box next to "Enable DHCP on fe-0/0/0.0".
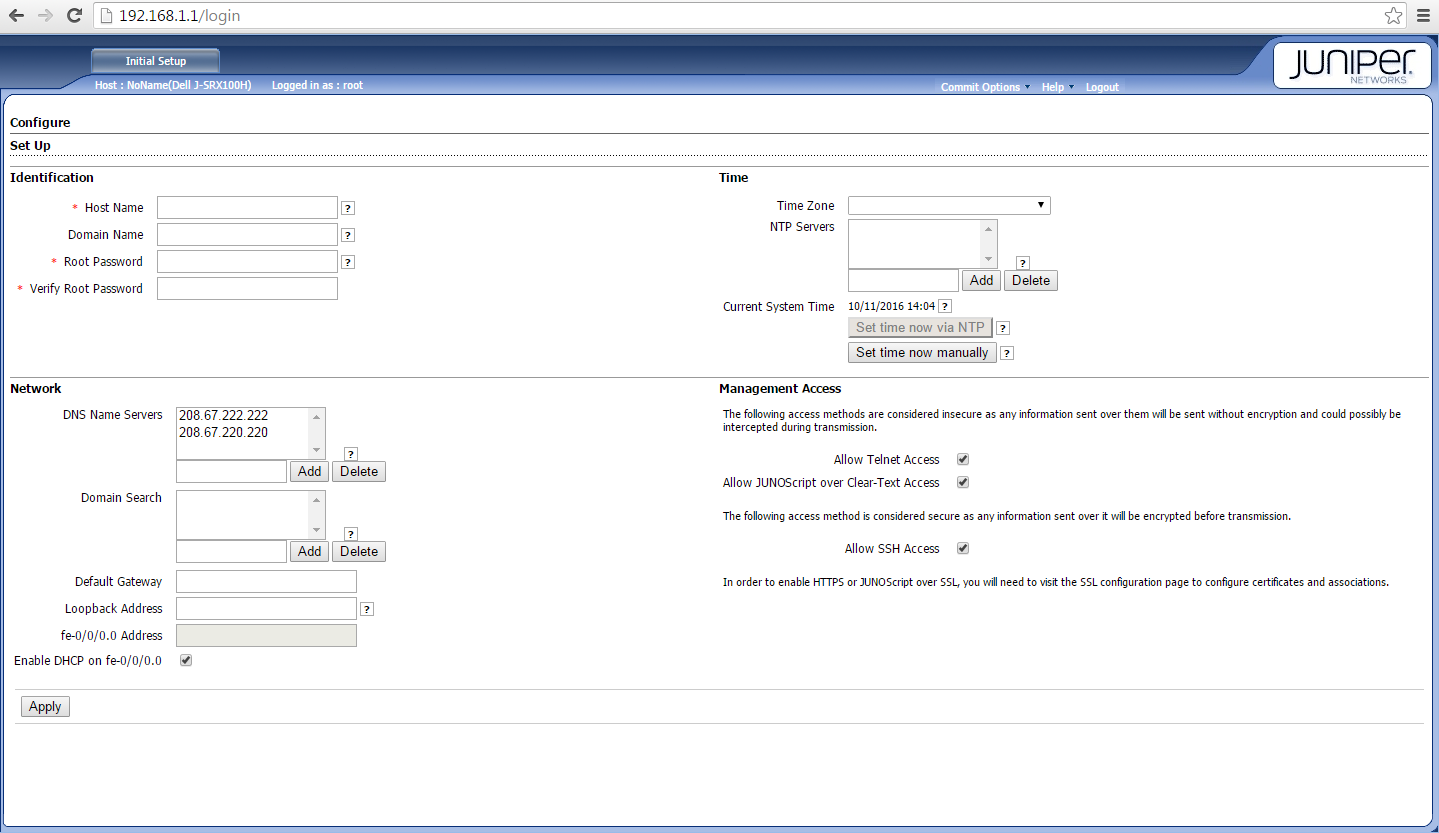
The default DNS servers are 208.67.222.222 and 208.67.220.220, which are OpenDNS name servers.
For the Looback Address field, Juniper states "Set a loopback address other than 127.0.0.1 which will serve as a single end point for management applications that need to connect to the router. This address must not be equal to an address bound to any other interface, must be routable and should be an outside address.
Click on Apply near the bottom of the web page when you've finished configuring the router.
For NTP servers, you can use NIST Internet Time Servers.
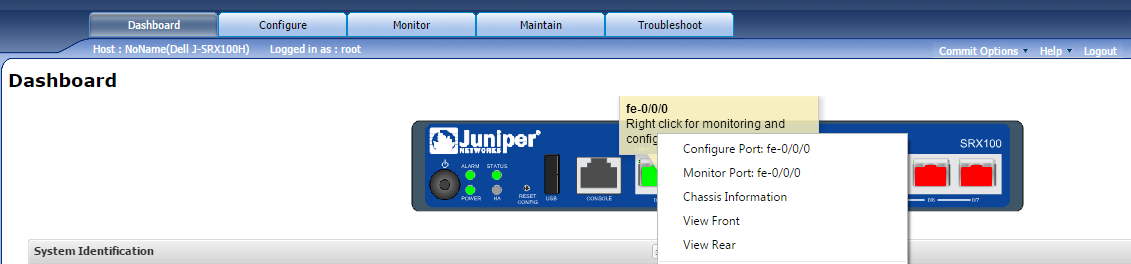
After you have completed the initial setup, you can go to the dashboard and right-click on a port, to make changes to the configuration of that port, if you decide to make changes.
If you left Secure Shell (SSH) access enabled, you can connect to the
router by SSH to make configuration changes. When you log in you will
see a root@hostname example prompt where hostname
is the host name you assigned to the router. You can type cli
at that prompt to proceed with the command line interface (CLI) method
for configuring the router - use lower case letters for "cli". That will
change the prompt to show a greater-than sign at the end of the prompt
rather than a percent sign.
root@Hector% cli
root@Hector>
You can type show configuration at that prompt to see
the current configuration.
root@Hector> show configuration
## Last commit: 2016-10-11 10:59:22 EDT by root
version 10.3R2.11;
system {
    host-name Hector;
    domain-name example.com;
    time-zone America/New_York;
    root-authentication {
        encrypted-password "$2$ArXO5SIM$JOJ4nI2oBNJMCTwQ6x7yh8"; ## SECRET-DATA
    }
    name-server {
        208.67.222.222;
        208.67.220.220;
    }
    services {
        ssh;
        telnet;
        xnm-clear-text;
        web-management {
            http {
                interface vlan.0;
            }
            https {
                system-generated-certificate;
---(more)---
You can use upward and downard-pointing cursor keys to move up and down through the display line by line or hit the Space key to page down through the display.
You can type exit to return to the first prompt - the one with the percent sign. You can type exit again to disconnect from the router.
If you need to revert to the rescue configuration you saved, use a small screwdriver or unbent paperclip to press in the Reset Config momentarily and and then release it. If you need to reset the device to its factory default configuration, hold the button in for about 15 seconds, until the status light glows amber.