
Click on Firewall Settings
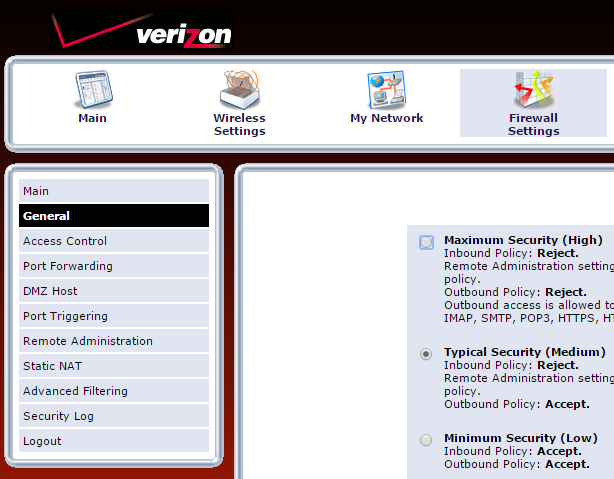
On the left-hand side of the window, you will see a menu that includes Port Forwarding; click on Port Forwarding.
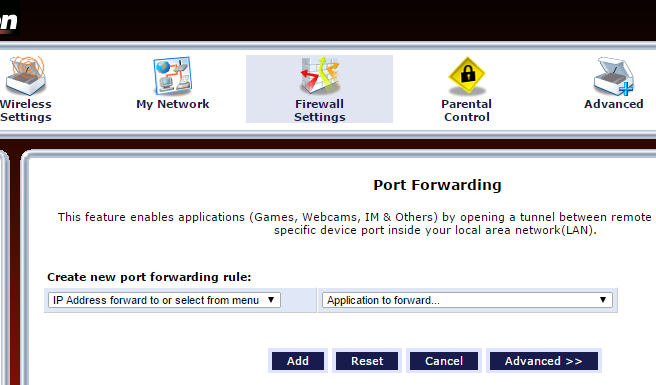
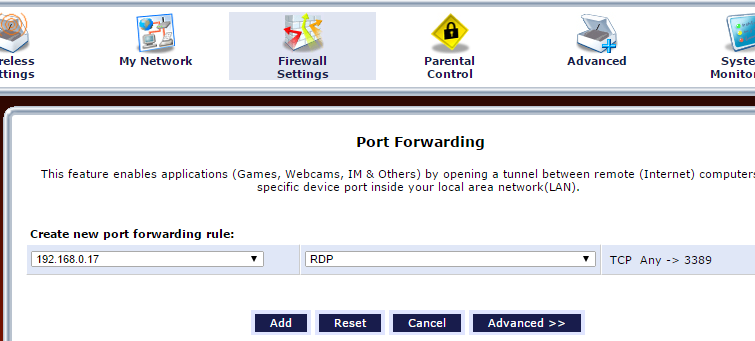
Beneath "Create new port forwarding rule" is a dropdown list which will allow you to select the IP address of the destination RDP host. Select the appropriate system from that dropdown list.
Then from the "Application to forward" dropdown list select "RDP", if you are using the default port for RDP. You will see "TCP Any -> 3389" appear to the right of that dropdown list. Transmission Control Protocol (TCP) port 3389 is the default RDP port.

If you ever wish to delete the rule, come to this same page and check the check box at the right-hand side of this rule, which is in the column with the "Delete" header, and then click on the Delete button at the bottom of the page.
The above procedure is the one to use if you wish to use the default port, 3389, for the RDP connection. If, instead, you want to use a port other than the default one, e.g., if you need to have RDP connections to multiple IP addresses behind the firewall, but have only one public IP address for the outside interface of the firewall, you could choose a unique port to forward to a particular IP address, e.g., 33089 for one, 33090 for another, etc. You might also want to choose a nonstandard port to reduce the number of break-in attempts on the port from systems on the Internet.
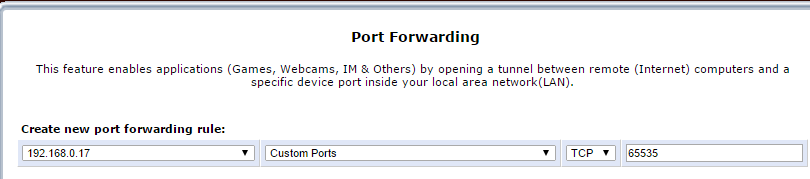
If you wish to forward a non-standard port, rather than the default port of 3389 for the the Internet-facing side of the connection, then at step 5 where you select the application to forward, choose "Custom Ports" rather than RDP.
Click on the Advanced button rather than the Add button to
choose a non-standard port. Then click on the dropdown list next
to "Destination Ports" and select Specify. Then, below the
Ports field, type the port number you wish to use for the Internet-facing
side of the firewall, e.g., 33090. Then, under "Forward to Port",
from the dropdown list select Specify rather than Same as Incoming
Port. Type 3389 for the port to use for the "forward to port".
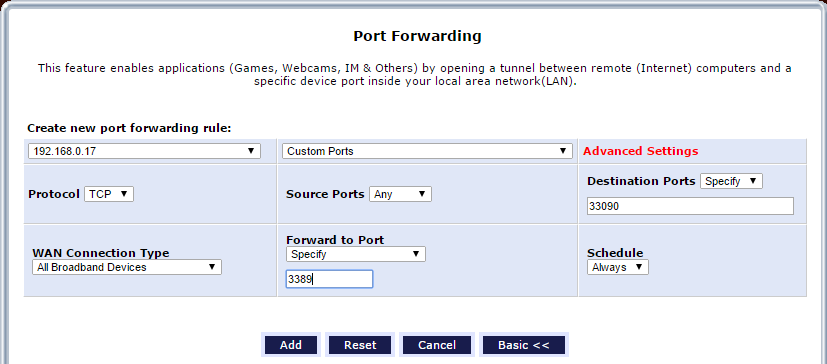
Then click on the Add button. You will then have a custom port rule added. E.g., in the example below, a connection attempt using an RDP client connection to port 33090 will be forwarded by the firewall to IP address 192.168.0.17 on the standard RDP port on that system, which is port 3389.

By that mechanism, you don't have to change the port the destination
system is listening on for RDP connections, you merely specify the
port to be used for the RDP connection on the client side, i.e., the
system from which you are establishing the RDP connection, which you
may be able to do using something like example.com:33090,
rather than just specifying the
fully qualified domain name (FQDN) or IP address. I.e.,
you put a colon and the custom port you selected after the IP address or FQDN.
If you are using the mstsc utility provided by Microsoft on
Microsoft Windows systems to establish the RDP connection, if the destination
system was reachable using example.com, I could use a command like the one
below at a command prompt to establish the connection:
mstsc /v example.com:33090