
To see the system's current name, you can press the
Windows key and the
Pause/Break key on the keyboard simultaneously. Alternatively,
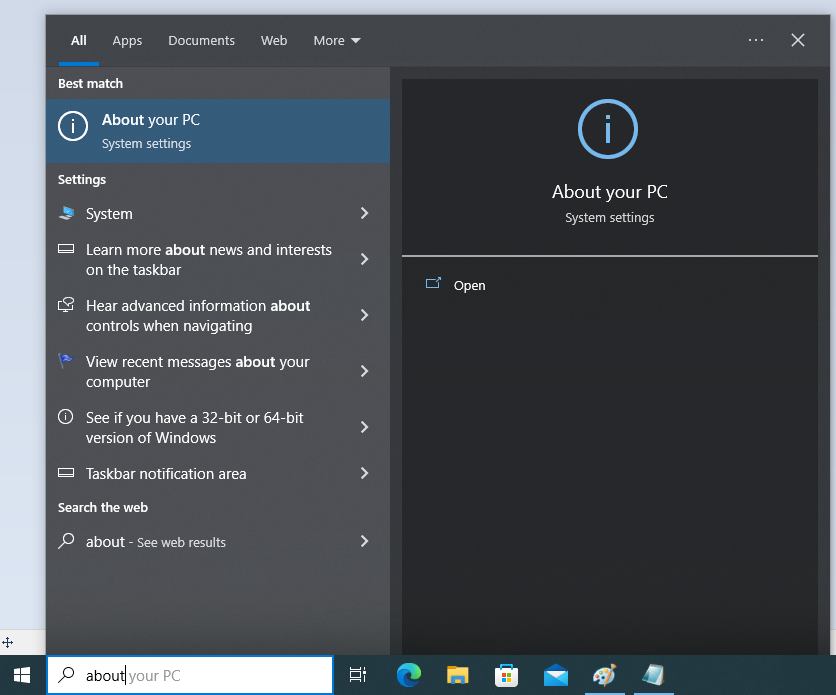
you can type about in the "Type here to search" field at the bottom, left-hand side of the screen and then
select the About your PC entry which is returned from the search.
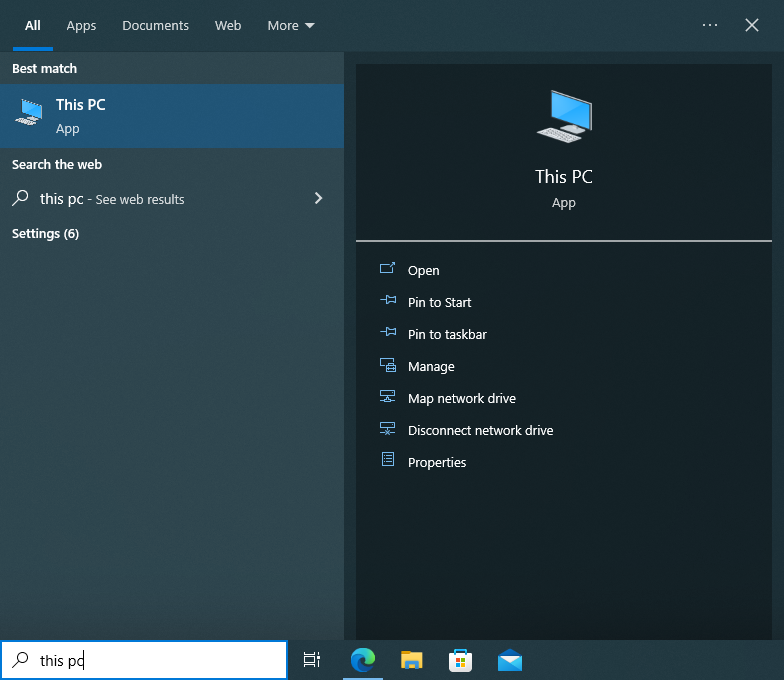
You can also type this pc in the "Type here to search" field at the bottom, left-hand side of the screen and then select
the "This PC" app when you see it listed.
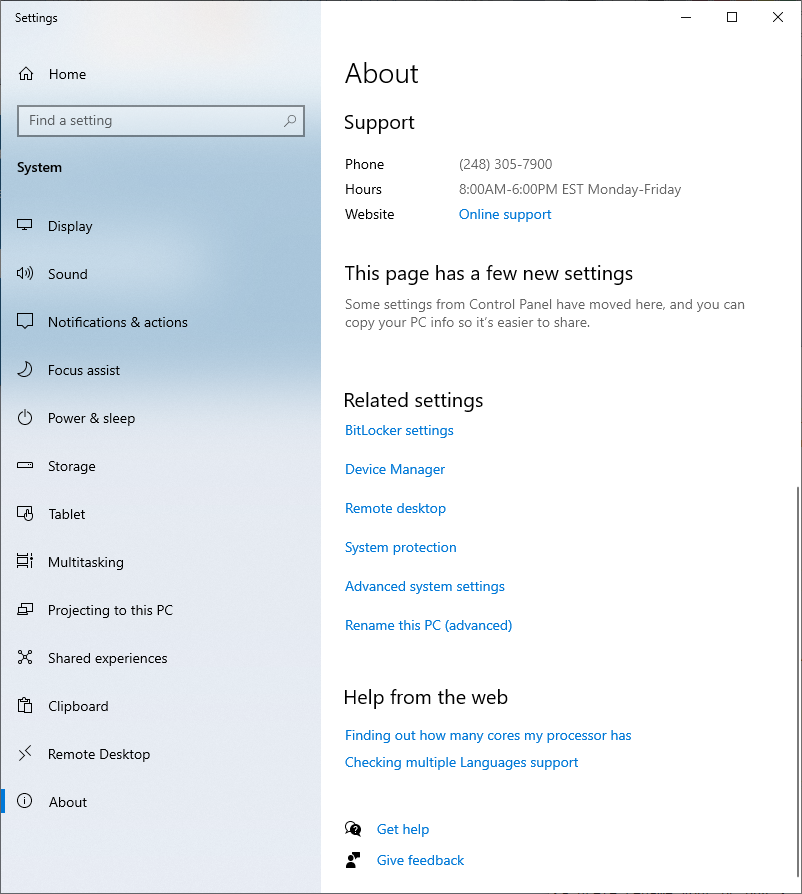
For any of the three above options, you will then see an About window that lists "Device name," which is the system's current name.
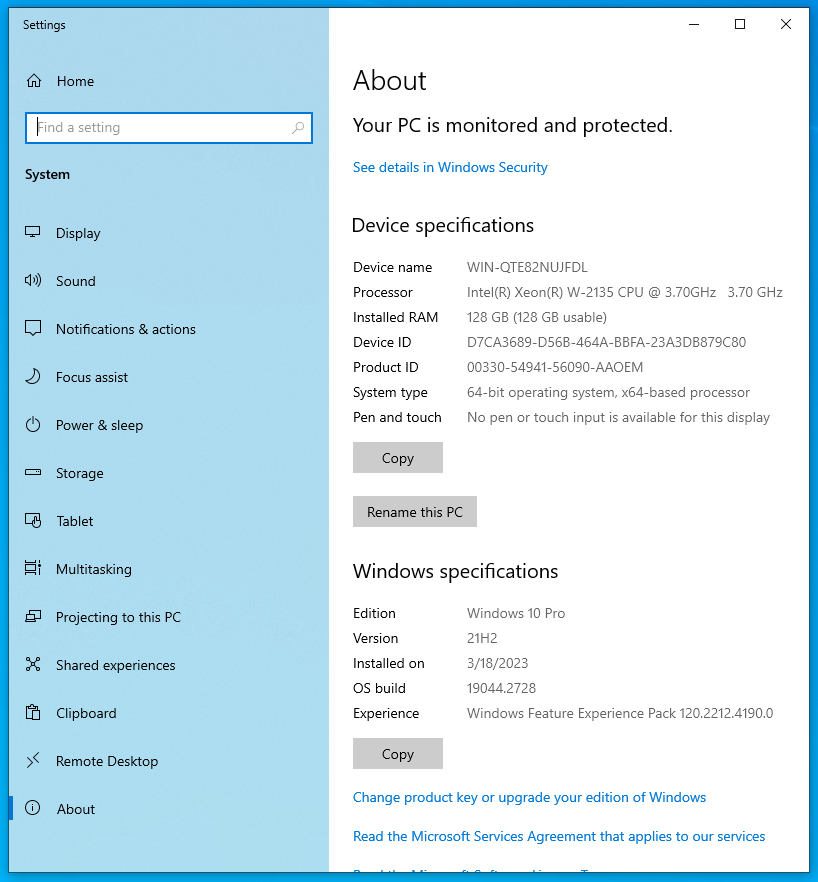
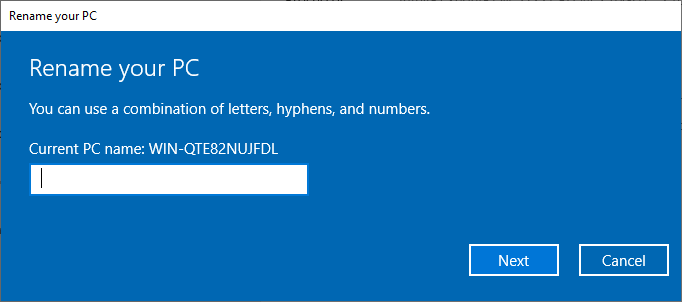
If you just need to rename the PC, click on Rename this PC.
If you need to both rename the PC and join a Windows domain, then instead of clicking on Rename this PC, scroll downards in the About window until you see "Rename this PC (advanced)" and click on it.
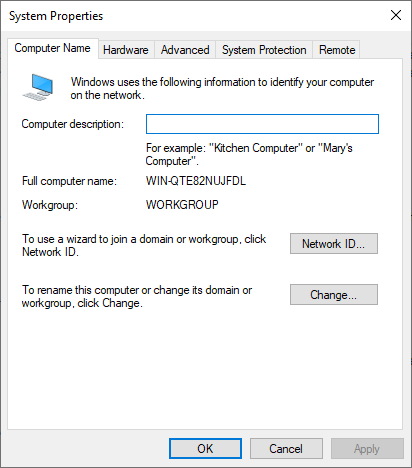
On the System Properties window, you will see "To rename this computer or change its domain or workgroup, click Change." Click on the Change button next to the text.
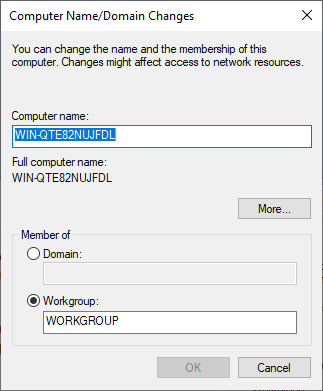
You can then change type in a computer name and select "Domain" instead of the default "Workgroup" for the "Member of" setting.
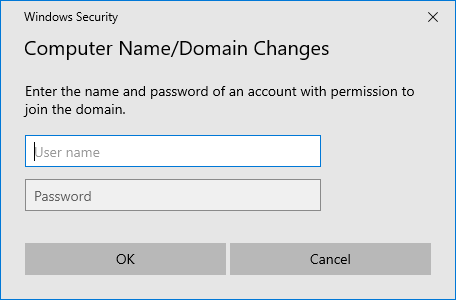
To join the system to a Windows domain, you will need to provide a userid and password for an account with administrator privileges in that domain.
If you see a window stating an error occurred when attempting to join the
domain with "The specified domain either does not exist or could not be
contacted," you may need to change the DNS setting for the system to point to a
DNS server for the domain. You can see the DNS servers being used by the
system by
opening a command prompt window and typing ipconfig /all
then looking for the "DNS Servers" lines. E.g., two
OpenDNS servers are used as default servers in the example below from a Windows 10 Pro system:
   DNS Servers . . . . . . . . . . . : 208.67.222.222
                                       208.67.220.220
To change the DNS server(s) for the system, open the Settings window, which you can access by typing Settings in the "Type here to search" field or back up to the main settings window if you already have a Settings window open. Click on Network & Internet, then click on Properties under Network status.
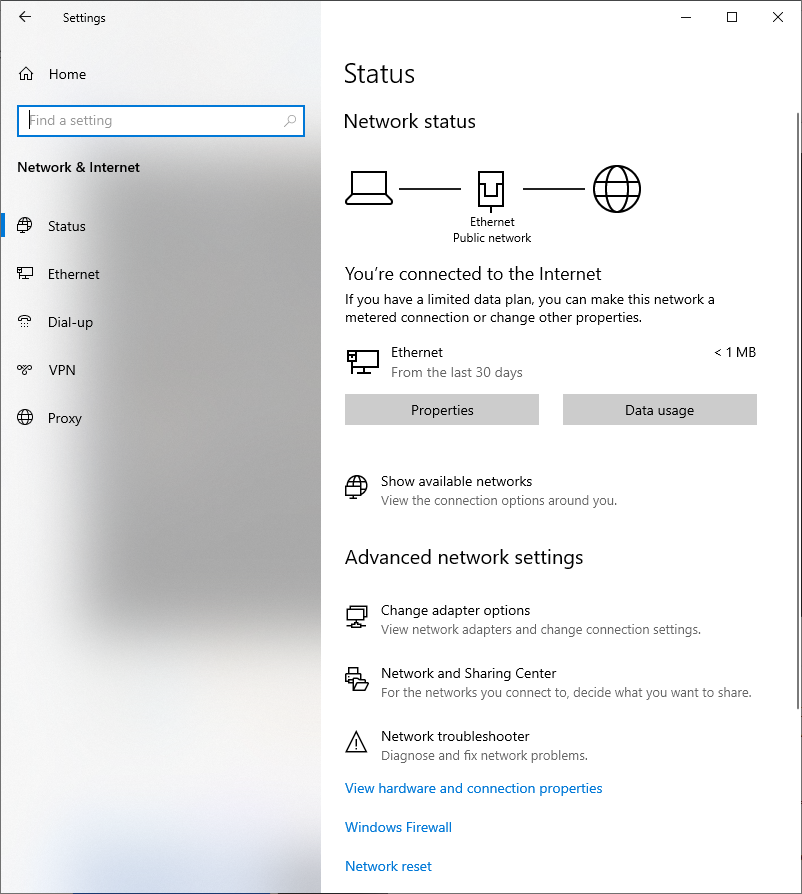
Under IP settings, click on Edit for "IP assignment."
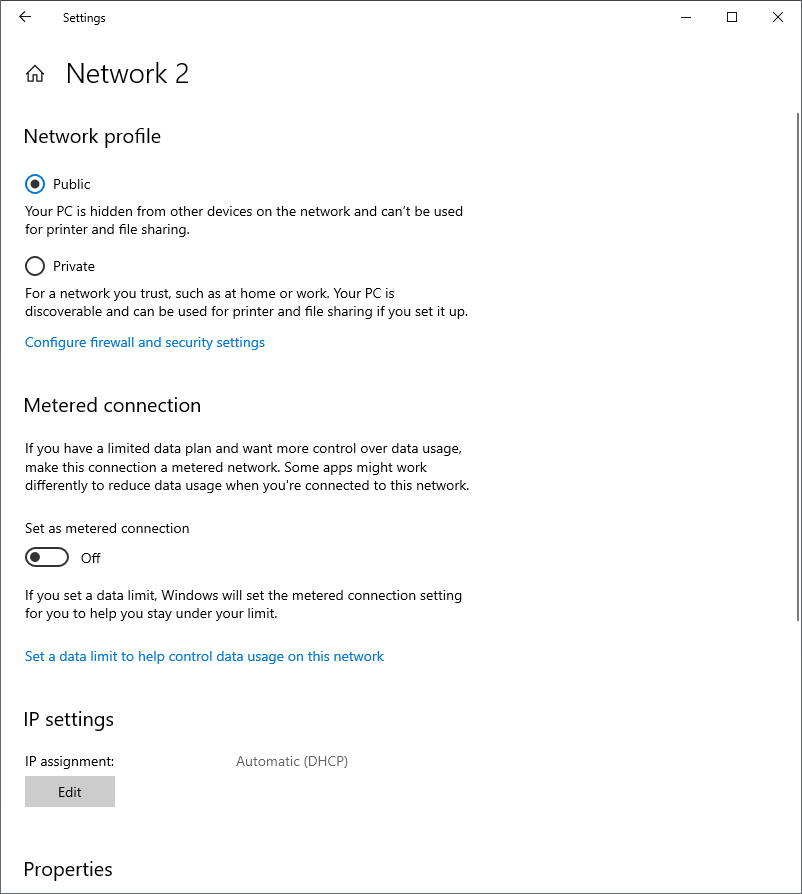
You can change the settings from "Automatic (DHCP)" to "Manual" and provide the appropriate IP address, Gateway (router), and DNS addresses.
If you have the system configured to use an appropriate DNS server that is configured to know the domain controller (DC) for the domain, but get a message stating that "An Active Directory Domain Controller (AD DC) for the domain" could not be contacted and stating that you need to ensure that the domain name is typed correctly, ensure that the domain name is complete and typed the correctly.
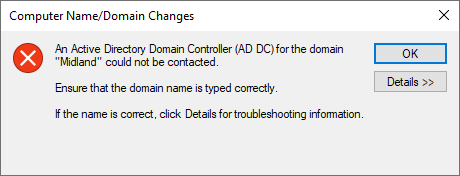
E.g., I omitted .local from the end of the domain name when I attempted to
add a new Windows 10 system to a domain and saw that message. When I
changed the domain name I was attempting to join from midland
to midland.local, I saw the message above. When I clicked on
Details, I saw the message below:
Note: This information is intended for a network administrator. If you are not your network's administrator, notify the administrator that you received this information, which has been recorded in the file C:\windows\debug\dcdiag.txt.
The domain name "Midland" might be a NetBIOS domain name. If this is the case, verify that the domain name is properly registered with WINS.
If you are certain that the name is not a NetBIOS domain name, then the following information can help you troubleshoot your DNS configuration.
The following error occurred when DNS was queried for the service location (SRV) resource record used to locate an Active Directory Domain Controller (AD DC) for domain "Midland":
The error was: "DNS name does not exist."
(error code 0x0000232B RCODE_NAME_ERROR)The query was for the SRV record for _ldap._tcp.dc._msdcs.Midland.
Common causes of this error include the following:
- The DNS SRV records required to locate a AD DC for the domain are not registered in DNS. These records are registered with a DNS server automatically when a AD DC is added to a domain. They are updated by the AD DC at set intervals. This computer is configured to use DNS servers with the following IP addresses:
192.168.1.5
- One or more of the following zones do not include delegation to its child zone:
Midland
. (the root zone)
I realized my mistake when I used the
nslookup utility that
comes with the Windows operating system, which can be run from a
command prompt. You can check for a
relevant SRV record in
the DNS server by setting the query type to "SRV" with set
querytype="srv" then issue a query for the SRV record for the domain by
typing _ldap._tcp.dc._msdcs.x.y where x.y is
the relevant domain name. E.g.:
C:\Users\Ann>nslookup
Default Server:  north.midland.local
Address:  192.168.1.5

> set querytype=srv
> midland
Server:  north.midland.local
Address:  192.168.1.5

*** north.midland.local can't find midland: Server failed
> north
Server:  north.midland.local
Address:  192.168.1.5

*** north.midland.local can't find north: Server failed
> _ldap._tcp.dc._msdcs.midland
Server:  north.midland.local
Address:  192.168.1.5

*** north.midland.local can't find _ldap._tcp.dc._msdcs.midland: Non-existent domain
> _ldap._tcp.dc._msdcs.midland.local
Server:  north.midland.local
Address:  192.168.1.5

_ldap._tcp.dc._msdcs.midland.local      SRV service location:
          priority       = 0
          weight         = 100
          port           = 389
          svr hostname   = north.midland.local
north.midland.local    internet address = 192.168.1.5
>exit

C:\Users\Ann>
When I added the .local to the end of the domain name, I was able to successfully query the SRV record, which showed the IP address of the Active Directory Domain Controller (AC DC) was the same as that for the DNS server for the domain. I then added the .local to the end of the domain name in the Computer Name/Domain Changes window and was able to successfully join the domain.
When you've successfully joined the Windows domain, you should see a small "Welcome to the x.y domain" where x.y is the domain, e.g., acme.local. You should also see another small window pop up with the message that "You must restart your computer to apply these changes" and "Before restarting, save any open files and close all programs. You can then close the System Properties window and reboot the system. When you close that window, another window will appear with two buttons, one for "Restart Now" and the other to "Restart Later." Be sure to save any open files