
Note: the steps below were taken on a Windows Server 2012 system and the screen shots below are from that system.
Then click on the Tools tab.
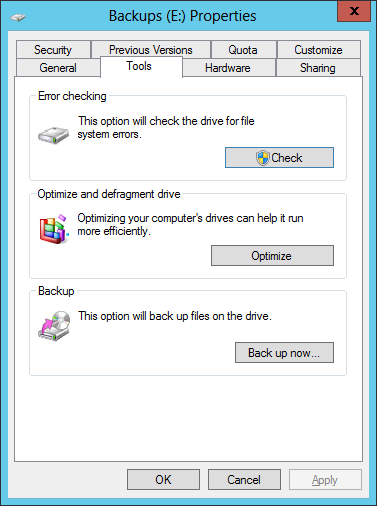
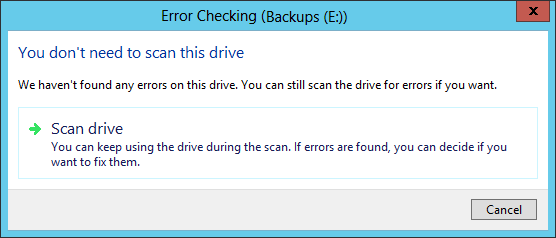
Then click on the Check button. If the operating system isn't aware of any errors on the drive you will see "We haven't found any errors on this drive. You can still scan the drive for errors if you want." You can click on "Scan drive" to commence the scan.
When the chkdsk scan is completed, you should see a "Your drive was successfully scanned" window where you can click on "Show Details" to see the details of the scan results.
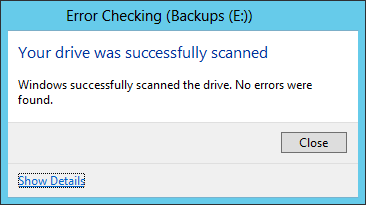
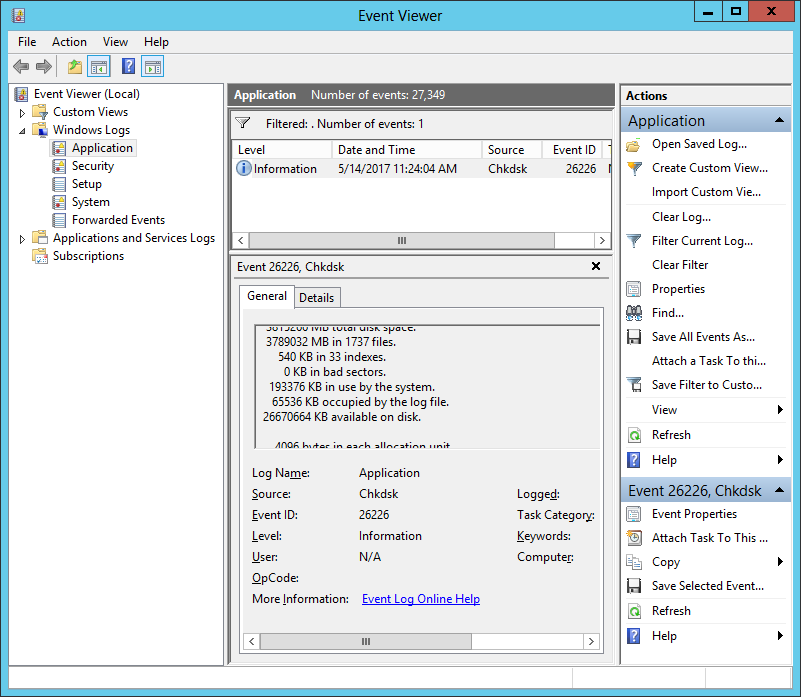
If you click on Show results, you will be taken to the log entry in the Event Viewer Application log. The event id number for running chkdsk is 26226.
To list the times such chkdsk tests were run from a command line interface (CLI), you can find all the entries in the Application log from a PowerShell prompt using the get-eventlog cmdlet as shown below:
PS C:\> get-eventlog -LogName "Application" | where-object {$_.EventID -eq 26226}

   Index Time          EntryType   Source                 InstanceID Message
   ----- ----          ---------   ------                 ---------- -------
  383344 May 14 11:24  Information Chkdsk                      26226 Chkdsk was executed in scan mode on a volume sn...


PS C:\>