To transfer the non-default
themes for a user
on an old system, e.g., a Windows 10 system, to a new system, e.g., a Windows
11 system, while logged into the relevant account on the old system, navigate
to the %localappdata%\Microsoft\Windows directory in the Windows
File Explorer
— %localappdata% is an
environment variable on a Windows system that equates to
C:\Users\username\AppData\Local\Microsoft\Windows\ where
username is the account name for the currently logged on user. Then
copy the Themes directory to a location where you can access it
on the new system, e.g., a network drive or
USB flash drive.
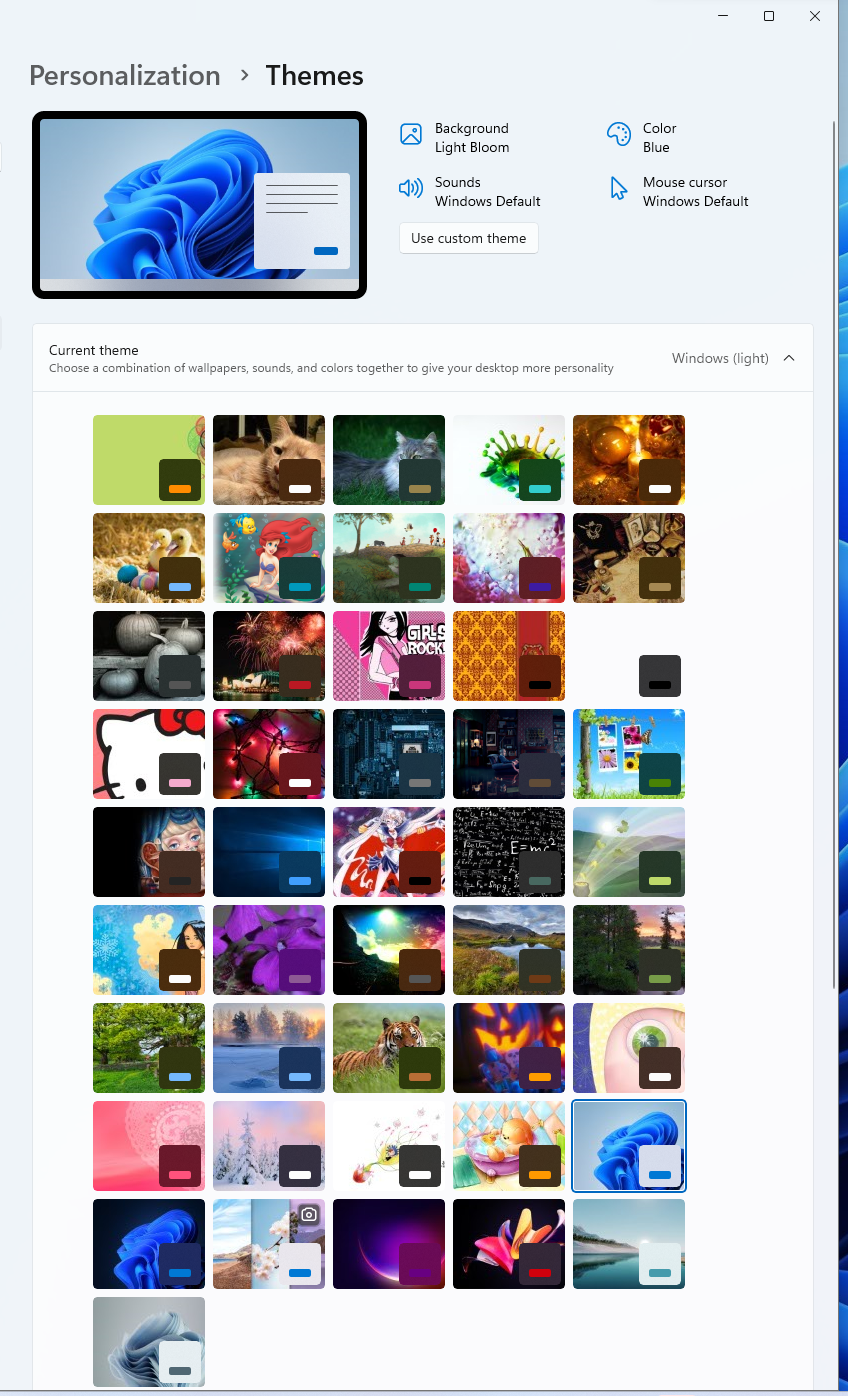
To see the currently installed themes on the new system, you can hit the Windows key and the D key simultaneously to get to the desktop. Right-click somewhere on the desktop and choose Personalize, then click on Themes. You will then see the currently available themes.
You can then close the window displaying the themes. Copy the Themes
directory from the old system to %localappdata%\Microsoft\Windows
on the new system, i.e.,
C:\Users\username\AppData\Local\Microsoft\Windows\ where
username is the relevant account name. Note: if no custom themes
have been installed on the new system for the user, then there won't
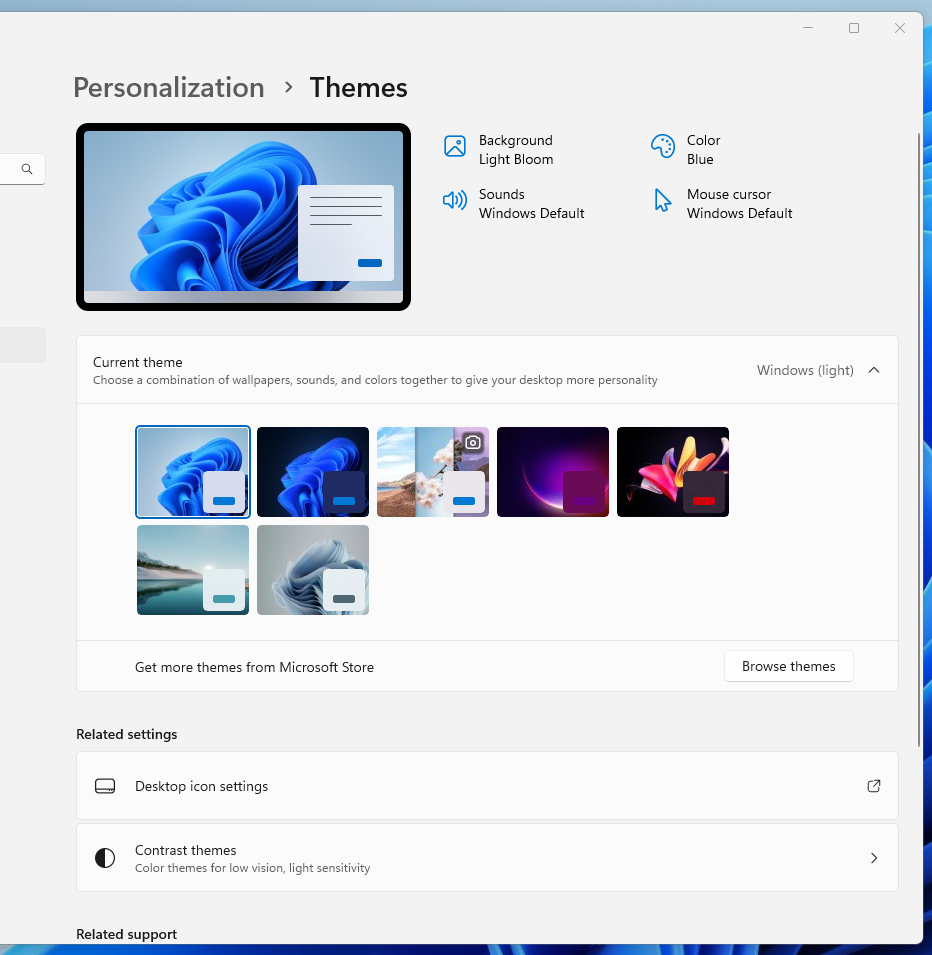
be a Themes directory on the new system yet. If you then look at
the currently installed themes again with the steps listed above or by typing
themes in the Windows Search field at the bottom
of the screen and selecting Themes and related settings, you
should see the themes that were on the old system as being available on
the new system.