
You can check on whether the
Simple Network
Management Protocol (SNMP) service has already been added to a Microsoft
Windows 10
system by opening a Services window and scrolling through the list
of services to see if SNMP is present. You can open a Services window
to check the list of installed
services by typing services in the
Cortana "Ask me anything" field and hitting Enter. The best
match shown should be "Services Desktop app". You can click on it to see
the list of
Windows services.
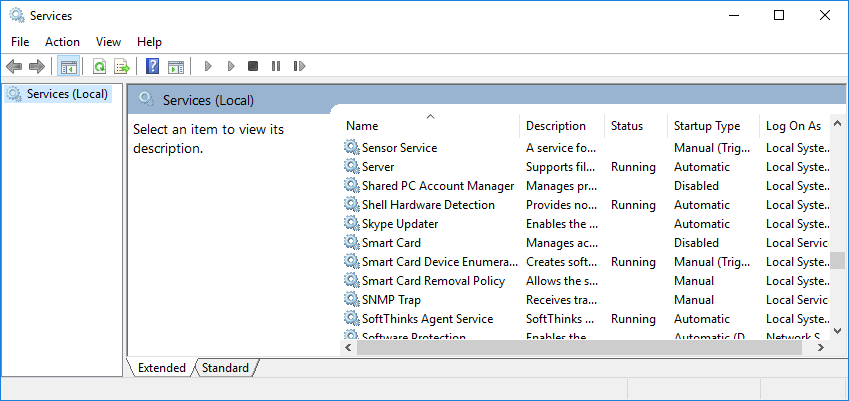
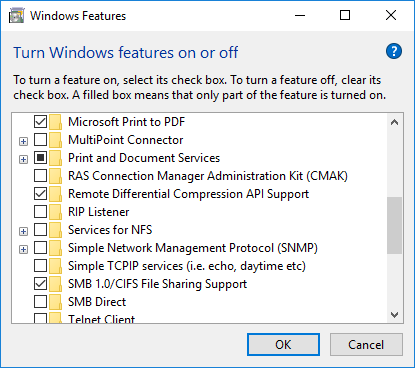
If you see SNMP Trap, but not SNMP Service, you will need to add the service. The process for adding it is similar to the process of adding support for SNMP under Windows 7.
Control Panel in the Windows
"Type here to search" field and clicking on the Control Panel app when it
is returned in the list of results.
Once you've added the SNMP service, the process for configuring it is the same as the process used for prior versions, such as Windows 7 - see Configuring SNMP on a Windows 7 System.