

A progress bar will appear tracking the progress of the backup.
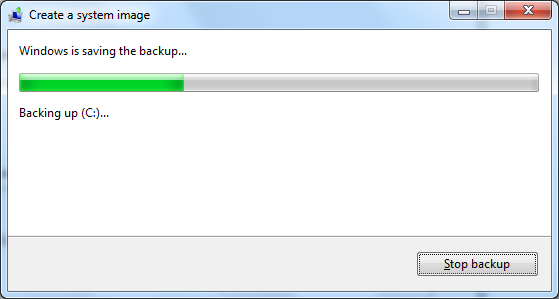
You can continue to work on the system while the backup is running, though the system may not be quite as responsive as it would be without a backup running, but changes you make to files after the backup starts won't be included in the backup.
You can continue to work after the backup starts without worrying that the backup image may be in an inconsistent state when the backup completes thanks to the Volume Snapshot Service (VSS). The VSS feature is provided by a service running on the system called the Volume Shadow Copy service. An explanation of how this service works can be found in the Wikipedia article for Shadow Copy.
Thanks to VSS, with Windows 7, you have the option of right-clicking on a file and selecting "Restore previous versions." If a previous version of a file was created with a restore point, you can select it to revert to that prior version. This capability is included in all versions of Windows 7, even the Home Premium version, whereas with Vista you only had access to this feature if you had the Business, Enterprise, or Ultimate edition of Windows Vista. The Home Edition of Vista did not provide the feature, even though VSS is included and running with that version, though third-party programs could allow you to restore previous versions of files on the local volume. I count this is a big improvement for the Home Edition of Windows 7.
When the backup is completed you will be asked if you want to create a system repair disc. If you haven't yet created one for the system, I would highly recommend you do so. With a repair disc, if the system is unbootable, you can boot the system from the repair disc and commence recovery operations or restore from the backup you made. It will also allow you to insert a new disk drive in the system as a replacement, should the existing system disk fail, and restore from the backup you made.
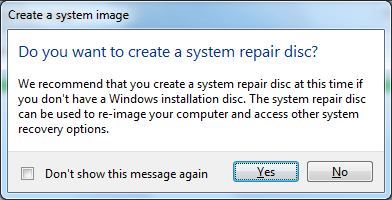
Clicking on "Yes" will allow you to create a disc using a CD/DVD writer in the system.
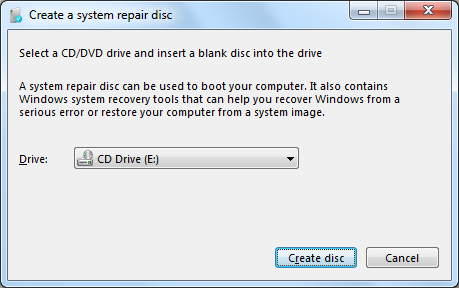
Insert a blank CD or DVD into the drive before clicking on Create disc, otherwise you will get the message "System repair disc could not be created. There is no media in the device. (0xC0AA0202)", but you can click on OK, if you forgot to insert the disc and try again.
When the repair disc has been created, you will see a message about using the disc to recover the system.
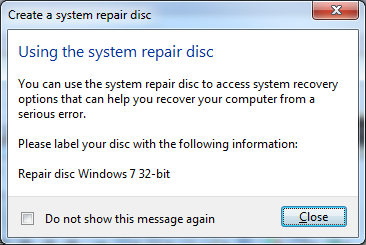
Click on Close to close that window, then click on OK to close the "Create a system repair disc" window. You now have a complete image backup of the system, plus a bootable repair disc.
References:
![]()