Adding a table to a database with DB Browser for SQLite
To add a new table to an existing
SQLite database with
DB Browser for SQLite, open the
database and take the following steps:
-
Click on Edit from the menu bar at the top of the SQLite window.
- Click on Create Table.
-
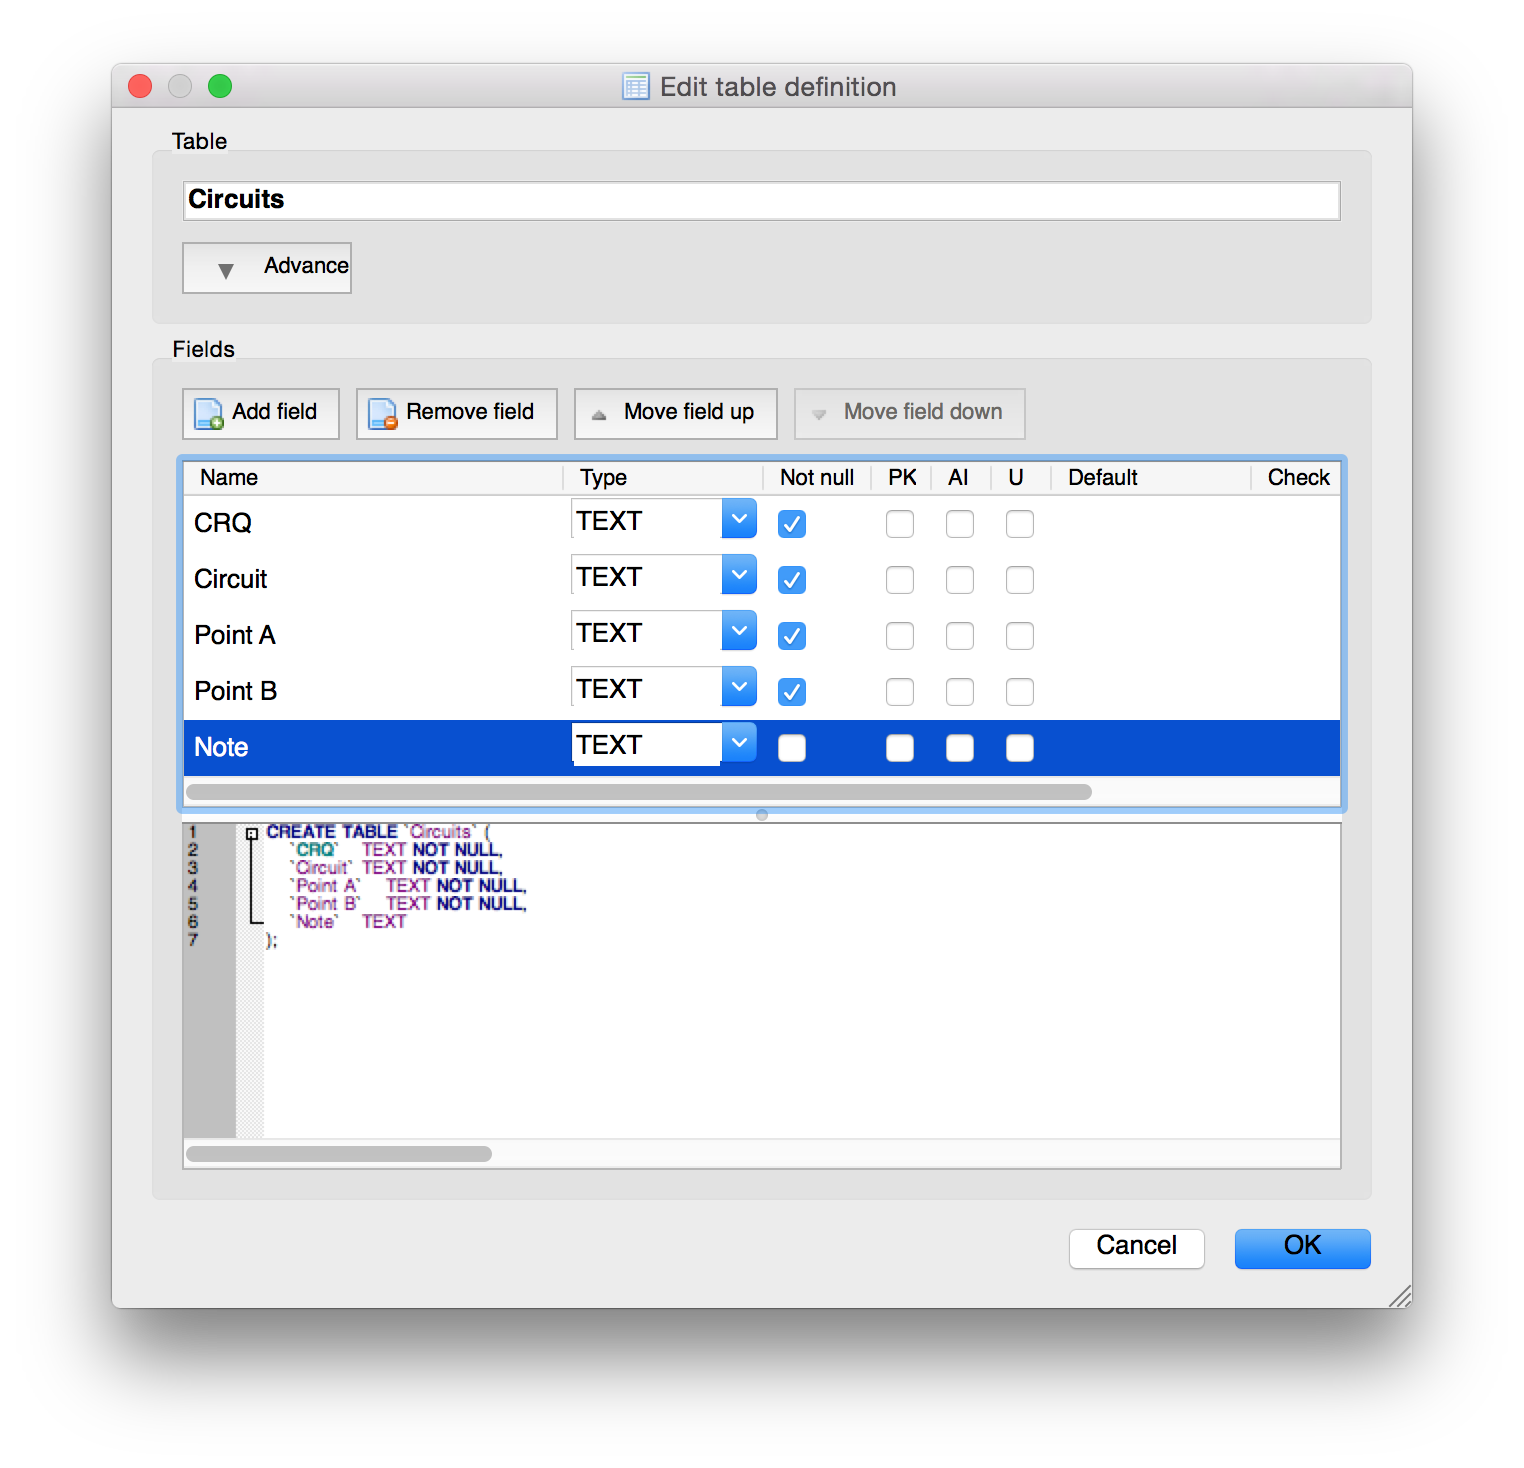
In the Edit table definition window that will then open, type a
name for the new table.
-
Click on the Add field button to add fields, aka columns, to the
new table.
-
The default name for the field will be Field1 with a type of
INTEGER. You can change the name by double-clicking on it. You
can change type for the data that will be placed in the field by selecting
from INTEGER, TEXT, BLOB, REAL, or NUMERIC from the drop down list for
type. The four check boxes to the right of "Type" are "Not null", though you
may only see "No" unless you click on the vertical line to the right of the
column header and drag it to the right, "PK" for primary key, "AI" for
autoincrement, and "U" for unique. If you hover the mose pointer over
the text for the column header, you will see the full description for
each one. If a field should not be allowed to have a null value, i.e.,
should never be blank, check the "Not null" check box. You will see
the SQL command that creates the new table and field(s) appear in a pane
at the bottom of the Edit table definition window.

-
After you have added all of the needed fields, click on OK to
complete the creation of the new table.
See also:
- DB Browser for SQLite on
OS X
-
Adding a field to an SQLite table with DB Browser for SQLite