BitDefender Threat Scanner File Containing Error Information
A user of a Windows 7 Professional system (64-bit version) sent me a screen
shot she had taken of a BitDefender Threat Scanner window that had popped up on
her system Friday morning. She had been seeing the message periodically in
the past.
BitDefender Threat Scanner
 |
A problem has occured in BitDefender Threat Scanner. A file containing
error information has been created at
C:\Windows\TEMP\c44f5eb-94e1-4222-b781-15e2ddadac3b\BitDefender Threat
Scanner.dmp. You are strongly encouraged to send the file
to the developers of the application for further investigation of the
error. |
After using the Sysinternals autoruns utility, I found that
a BitDefender driver Trufos.sys was being loaded. I disabled
it with autoruns.
[ More Info ]
[/security/antivirus/bitdefender]
permanent link
Using dpkg and apt-get with BitDefender Rescue CD
The
dpkg utility can be used to add additional software
once you have booted a system with a BitDefender Rescue CD, but first
you need to create a few directories and files.
root@Knoppix:~# mkdir /var/lib/dpkg
root@Knoppix:~# mkdir /var/lib/dpkg/info
root@Knoppix:~# mkdir /var/lib/dpkg/updates
root@Knoppix:~# touch /var/lib/dpkg/status
root@Knoppix:~# touch /var/lib/dpkg/available
Alternatively, you can use the apt-get utility to download
and install the packages you wish to use - see
Using
apt-get with BitDefender Rescue CD
[ More Info ]
[/security/antivirus/bitdefender/rescuecd]
permanent link
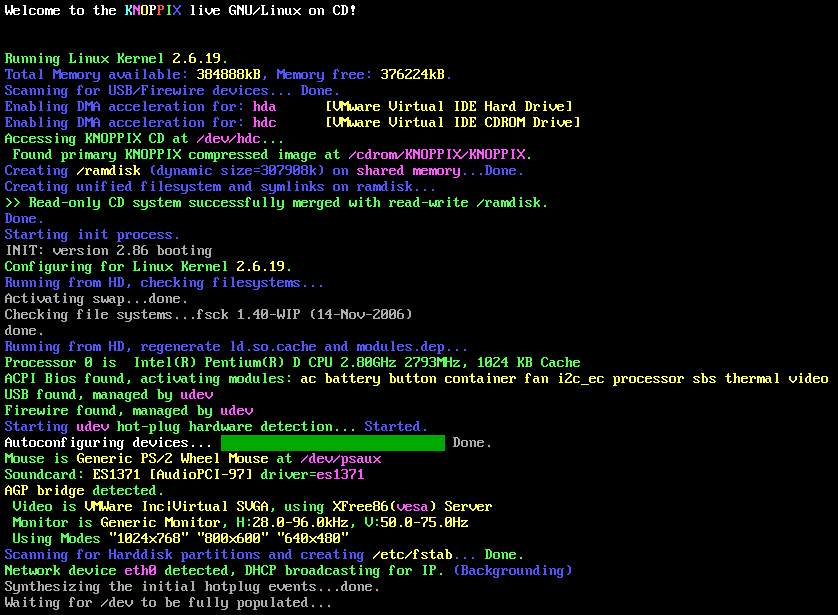
BitDefender Rescue CD 2.0.0
BitDefender provides free rescue CD
software that you can use to scan a Windows system. The rescue CD is based
on
Knoppix Linux. As of August 2, 2009,
BitDefender Rescue CD 2.0.0 uses Knoppix 2.6.19. You can download
an
ISO file for the
rescue CD from
http://download.bitdefender.com/rescue_cd/.
To use the rescue CD, boot the system from the CD. You may need to configure
the system's Basic Input Output
System (BIOS) to attempt to boot from a CD before attempting to boot
from the hard drive or hit a key that allows you to select the drive from
which you want to boot. When you system starts booting from the CD, you
will see an initial startup nenu.
Start knoppix in English (US)
Start knoppix in French
Start knoppix in console mode
Memory test
Boot from first hard disk
BitDefender Rescue CD
based on Knoppix
You must hit Enter when the menu appears or move the cursor up or down
or the system will be booted from the hard drive rather than the
boot process continuing from the CD.

Click on the image to enlarge it
During the boot process, the virus definitions will be updated, if the
system has an Internet connection. If the software has a problem updating
the definitions it will hang for awhile at the stage where it tries
to update the virus definitions and then you will see the message
"Trying to update BitDefender-scanner...fail..check your network ?"
When the BitDefender Rescue CD completes booting, you will
have a Graphical User Interface (GUI).
A BitDefender AntiVirus Scanner for Unices program will
start automatically and start scanning the hard drive in the
system.
By default, all partitions detected on the hard drive will be scanned.
When the scan completes, you'll have to choose what actions to take on the
infected file(s). You can choose one action for all files or select an action
for each item.
If you right-click somewhere on the desktop, you will see a list
of applications on the CD. You can get a terminal window by selecting
Terminal or Terminal (as root) by selecting from the
menu that appears when you right-click on the desktop. Don't pick
Exit from this menu, until you are ready to shut down the system.
I.e., wait until the scan has completed and you've chosen what to do with
any infected files detected
[/security/antivirus/bitdefender/rescuecd]
permanent link


